Difference between revisions of "Desert Blackbeard Quest"
(Created page with "== Requirements == * Level 850 == Rewards == * ONE of the random rewards below: ** Third Relic Slot Unlocker ** Ammo Slot (King Doll, Assassin Doll, Knight Doll, Nightmare Do...") |
|||
| (18 intermediate revisions by the same user not shown) | |||
| Line 1: | Line 1: | ||
== Requirements == | == Requirements == | ||
| + | * Access to [[Continental Progression|Hoelbrak continent]] | ||
* Level 850 | * Level 850 | ||
== Rewards == | == Rewards == | ||
| + | * 125x Jewels | ||
* ONE of the random rewards below: | * ONE of the random rewards below: | ||
| − | ** Third Relic Slot Unlocker | + | ** A [[Relics|Third Relic Slot Unlocker]] |
| − | ** Ammo Slot | + | ** A random 850 level [[Sets#Ammo_Slot_Dolls_.28Level_850.29|Ammo Slot]] |
| − | |||
== Walkthrough == | == Walkthrough == | ||
| − | Enter on | + | Enter on Desert Blackbeard Quest teleport |
| − | [[file: | + | [[file:Desert Blackbeard Quest.gif]] |
| − | |||
| − | |||
| − | |||
| − | |||
| − | |||
| − | + | == First Mission: The Levers == | |
| − | + | On the first part of this quest, you must remove a pirate statue from the boat. [[file:Pirate Statue.gif]] | |
| − | The | ||
| − | |||
| − | [[file: | + | At first you must pull 3 levers [[file:Lever.gif]] located on the red markers [[file:Marker (Red).gif]], then pull the big lever [[file:Lever 2.gif]] on the boat [[file:Marker (Star).gif]] to remove the statue. |
| − | |||
| − | |||
| − | |||
| − | + | Follow the way to find the levers: | |
| − | |||
| − | |||
| − | |||
| − | [[file: | + | [[file:BD Quest Map 1.png|200px]] [[file:DB Quest Map 2.png|200px]] [[file:DB Quest Map 3.png|200px]] [[file:DB Quest Map 4.png|200px]] [[file:DB Quest Map 5.png|200px]] |
| − | |||
| − | |||
| − | |||
| − | + | == Second Mission: The Cannon Balls == | |
| − | + | Now, you must break some boat supplies crates (that are actually monsters). [[file:Heavy_Chest.gif]]<br> | |
| − | Now, | + | Once they're dead (or broken?), their corpse will turn into a cannon ball. [[file:Cannon Ball.gif]]<br> |
| − | |||
| − | [[file: | + | [[file:Boat Supplies Break.gif]] |
| − | |||
| − | |||
| − | |||
| − | |||
| − | |||
| − | + | Gather all 5 cannon balls and return to the boat. | |
| − | |||
| − | |||
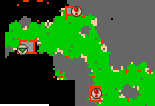
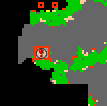
| − | + | The boat supplies are marked as a red marker [[file:Marker (Red).gif]] and the boat is marked as a star marker [[file:Marker (Star).gif]] | |
| − | [[file: | + | [[file:DB Quest Map 6.png|200px|250px]] |
| − | |||
| − | |||
| − | + | [[file:BD_Quest_Map_7.png|200px]] | |
| − | |||
| − | |||
| − | |||
| − | + | Back on the boat, use all your cannon balls [[file:Cannon Ball.gif]] on the cannon [[file:Cannon.gif]] to break the pirate statue [[file:Pirate Statue.gif]] on the way. | |
| − | + | [[file:Pirate Statue Break.gif]] | |
| − | The | + | == Third Mission: The Rum Flask == |
| − | |||
| − | |||
| − | + | Follow the way to find the Drunk Pirate. [[file:Pirate Cutthroat.gif]] | |
| − | |||
| − | |||
| − | [[file: | + | [[file:DB_Quest_Map_8.png|200px]] [[file:DB_Quest_Map_9.png|200px]] [[file:DB_Quest_Map_10.png|200px|292px]] [[file:DB_Quest_Map_11.png|200px|301px]] [[file:DB_Quest_Map_12.png|200px]] |
| − | |||
| − | + | Once you get there, follow the dialog to get a rum flask. [[file:Rum Flask.gif]] | |
| − | |||
| − | |||
| − | + | <b>Player: </b>hi | |
| + | <b>Drunk Pirate: </b>Errhh eeh, I don't, err, care if you pass, HIC, just get me <u>rum</u>. | ||
| + | <b>Player: </b>rum | ||
| + | <b>Drunk Pirate: </b>Here, HIC, fill it, errhh, there are, HIC, casks somewhere ehhh, I know this. | ||
| − | |||
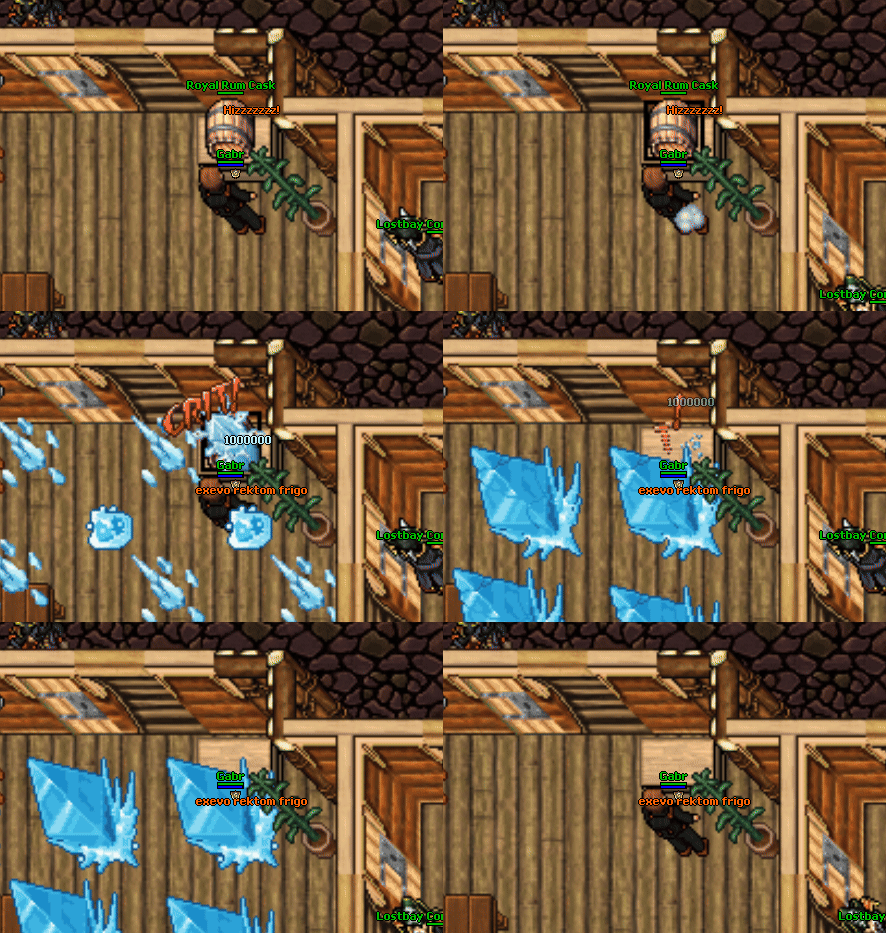
| − | + | Now, follow the way and use your rum flask [[file:Rum Flask.gif]] on 4 casks [[file:Cask.gif]] identified with a red marker [[file:Marker (Red).gif]] | |
| + | |||
| + | [[File:DB Quest Map 13.png|200px]] [[File:DB Quest Map 14.png|200px|292px]] [[File:BD Quest Map 15.png|200px]] | ||
| + | |||
| + | [[File:Rum Flask Fill.gif]] | ||
| + | |||
| + | |||
| + | Once you use on the 4th cask, you'll get the message: | ||
| + | This cask was almost empty but you managed to fill a bit. The flask is now full. | ||
| + | |||
| + | == Fourth Mission: Breaking The Casks == | ||
| + | Go back to the Drunk Pirate [[file:Pirate Cutthroat.gif]] with your filled rum flask and follow the dialog: | ||
| + | |||
| + | <b>Beware: you'll get teleported past the sealed door!</b> | ||
| + | |||
| + | <b>Player: </b>hi | ||
| + | <b>Drunk Pirate: </b>Errhh eeh, I don't, err, care if you pass, HIC, just get me <u>rum</u>. | ||
| + | <b>Player: </b>rum | ||
| + | <b>Drunk Pirate: </b>Yee may pass. Erhh. | ||
| + | |||
| + | Now, you must find and break 8 casks [[file:Cask.gif]] all over the pirate HQ identified with a red marker [[file:Marker (Red).gif]] | ||
| + | |||
| + | [[file:DB Quest Map 16.png|200px]] | ||
| + | |||
| + | [[file:Cask Break.gif]] | ||
| + | |||
| + | |||
| + | Once you slain them all, pull the lever [[file:Lever_2.gif]] to activate a teleport to the boss room [[file:Marker (Star).gif]] | ||
| + | |||
| + | [[file:DB Quest Lever.gif]] | ||
| + | |||
| + | |||
| + | == Final Mission: The Boss Fight == | ||
| + | This fight has no special mechanics.<br> | ||
| + | Sometimes cannons [[file:Cannon.gif]] will spawn on the 4 sides of the room dealing [[Bosses|red beam mechanics]]. | ||
| + | |||
| + | Avoid mechanics from the boss and from his cannons, and you will be fine. | ||
| + | |||
| + | [[file:DB Quest Boss.gif]] | ||
| + | |||
| + | |||
| + | Once you slain the boss, a teleporter [[File:Magic Forcefield (Azul).gif]] to the reward room will be created on the center of the boss room. | ||
| + | |||
<hr> | <hr> | ||
[[file:Treasure Chest (Big).gif]] | [[file:Treasure Chest (Big).gif]] | ||
Latest revision as of 20:42, 23 March 2025
Requirements
- Access to Hoelbrak continent
- Level 850
Rewards
- 125x Jewels
- ONE of the random rewards below:
- A Third Relic Slot Unlocker
- A random 850 level Ammo Slot
Walkthrough
Enter on Desert Blackbeard Quest teleport
First Mission: The Levers
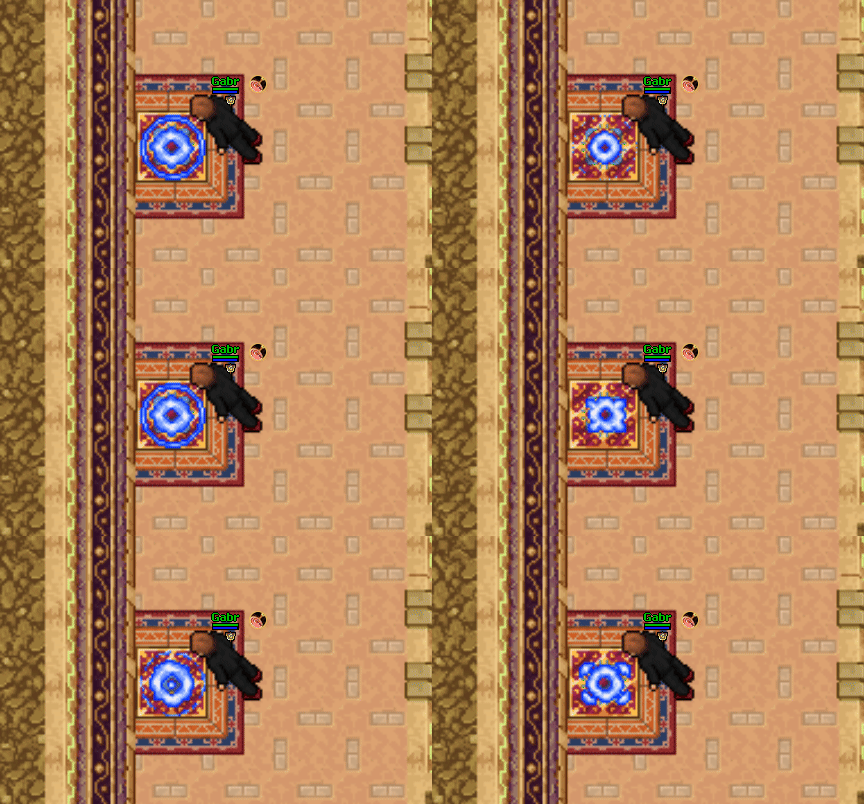
On the first part of this quest, you must remove a pirate statue from the boat. ![]()
At first you must pull 3 levers ![]() located on the red markers
located on the red markers ![]() , then pull the big lever
, then pull the big lever ![]() on the boat
on the boat ![]() to remove the statue.
to remove the statue.
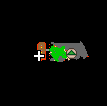
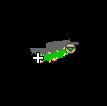
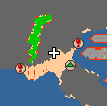
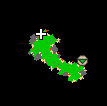
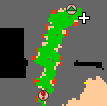
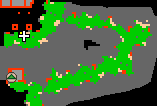
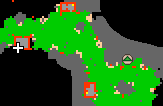
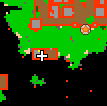
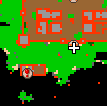
Follow the way to find the levers:
Second Mission: The Cannon Balls
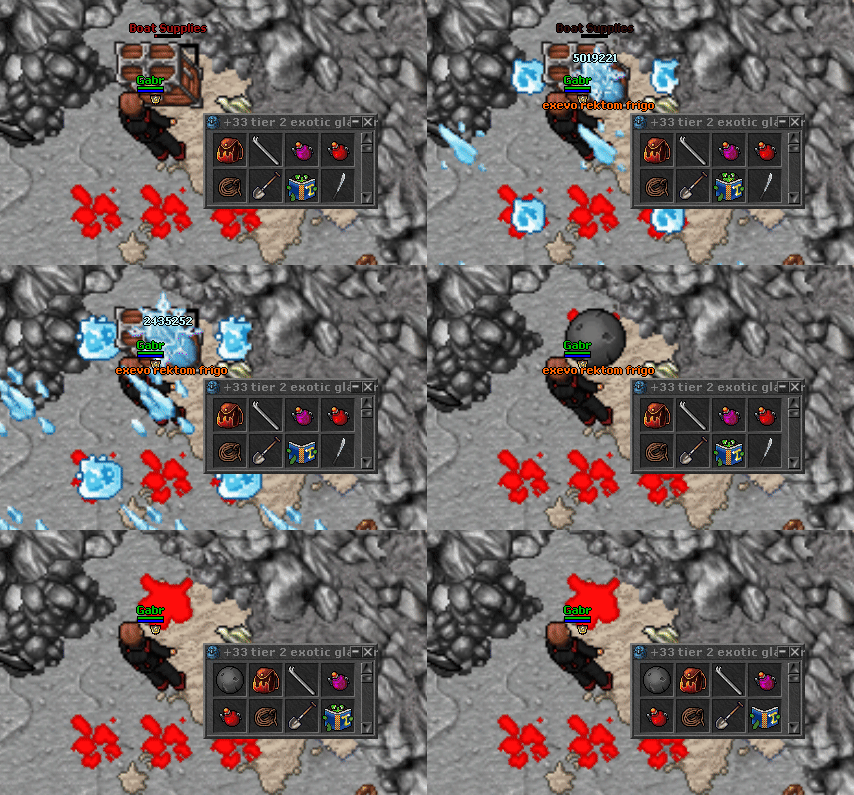
Now, you must break some boat supplies crates (that are actually monsters). ![]()
Once they're dead (or broken?), their corpse will turn into a cannon ball. ![]()
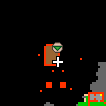
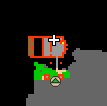
Gather all 5 cannon balls and return to the boat.
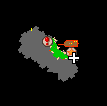
The boat supplies are marked as a red marker ![]() and the boat is marked as a star marker
and the boat is marked as a star marker ![]()
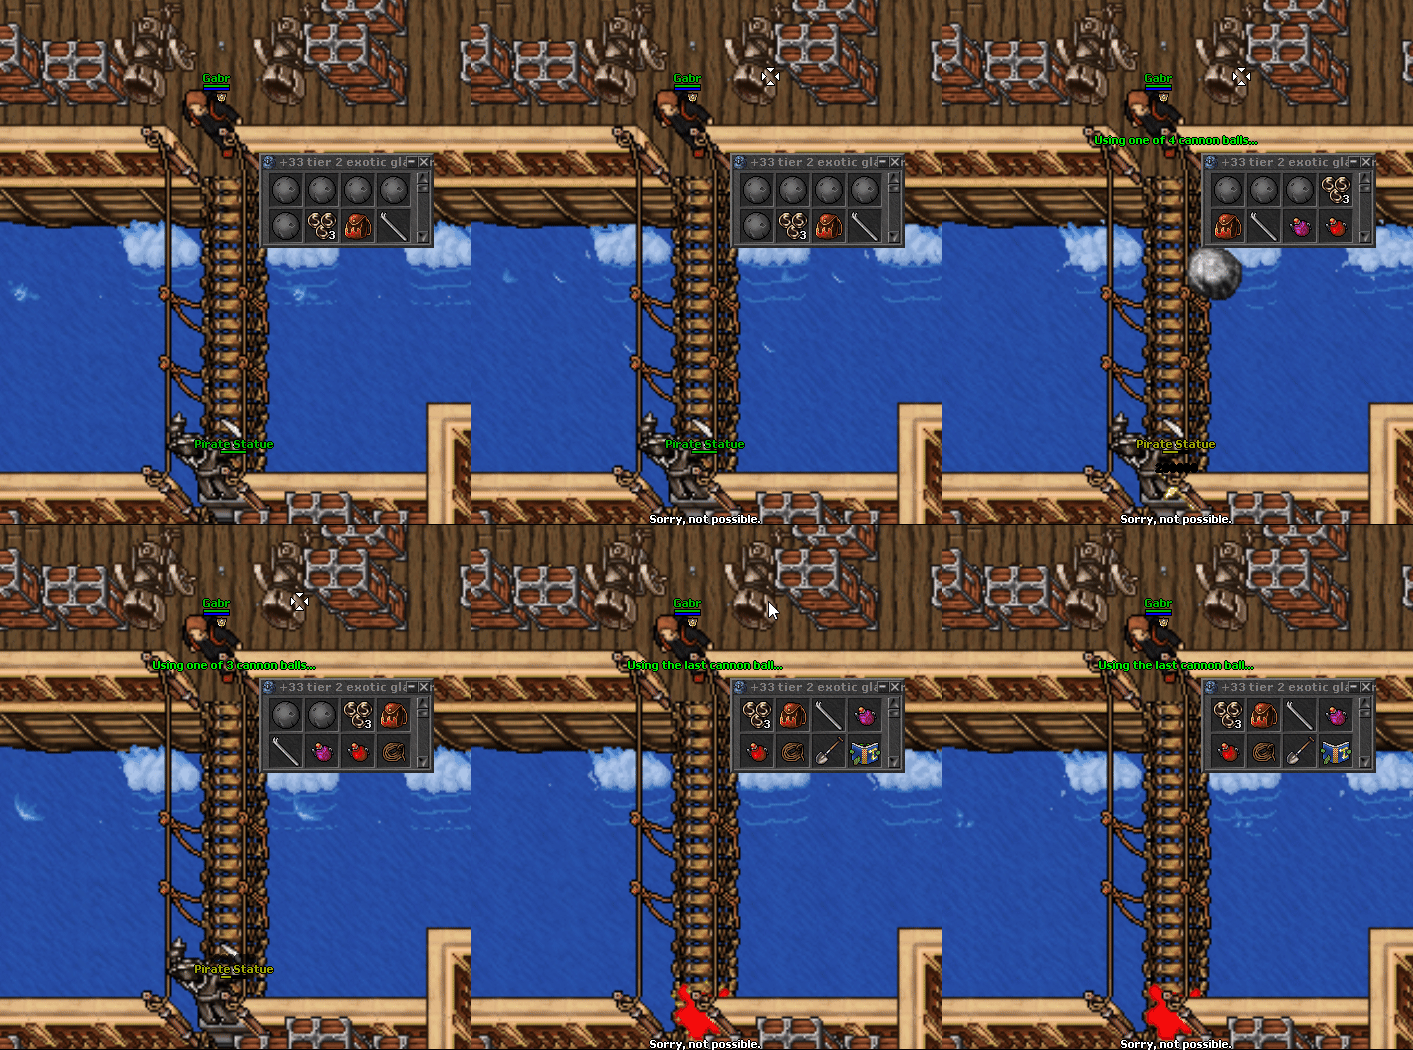
Back on the boat, use all your cannon balls ![]() on the cannon
on the cannon  to break the pirate statue
 ![]() on the way.
on the way.
Third Mission: The Rum Flask
Follow the way to find the Drunk Pirate. 
Once you get there, follow the dialog to get a rum flask. ![]()
Player: hi
Drunk Pirate: Errhh eeh, I don't, err, care if you pass, HIC, just get me rum.
Player: rum
Drunk Pirate: Here, HIC, fill it, errhh, there are, HIC, casks somewhere ehhh, I know this.
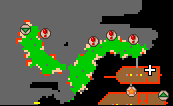
Now, follow the way and use your rum flask ![]() on 4 casks
on 4 casks ![]() identified with a red marker
identified with a red marker ![]()
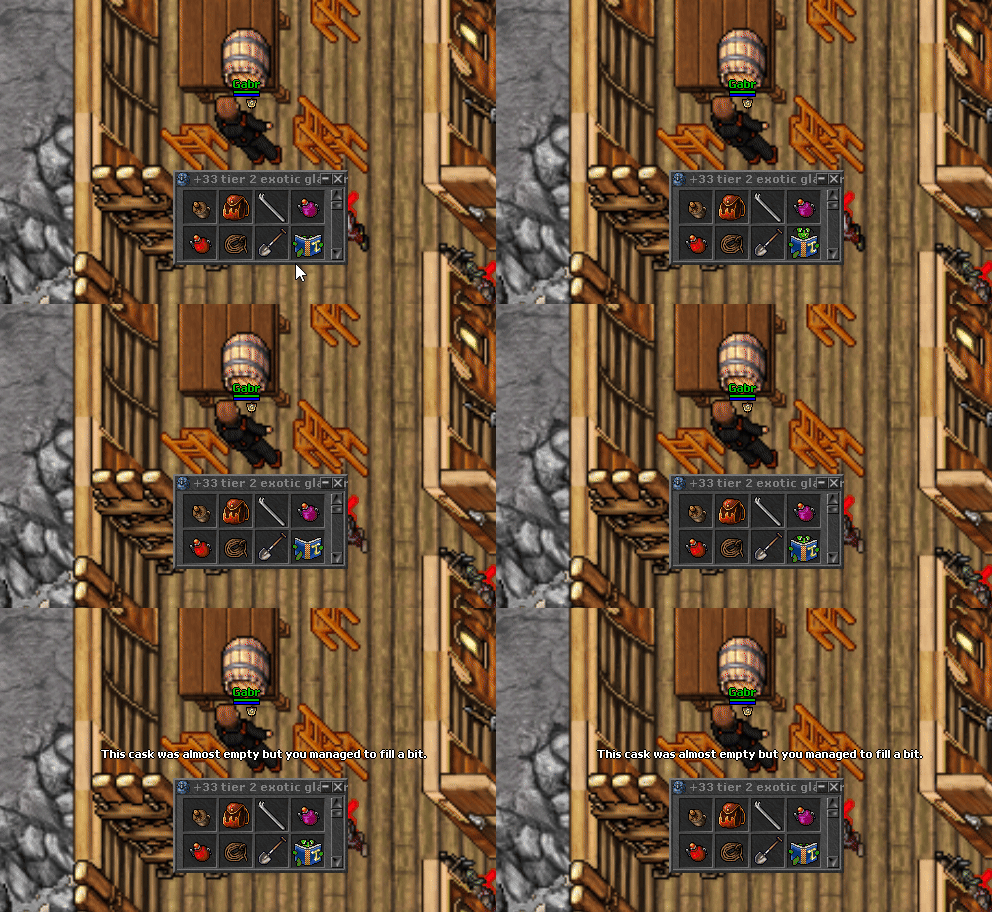
Once you use on the 4th cask, you'll get the message:
This cask was almost empty but you managed to fill a bit. The flask is now full.
Fourth Mission: Breaking The Casks
Go back to the Drunk Pirate  with your filled rum flask and follow the dialog:
Beware: you'll get teleported past the sealed door!
Player: hi
Drunk Pirate: Errhh eeh, I don't, err, care if you pass, HIC, just get me rum.
Player: rum
Drunk Pirate: Yee may pass. Erhh.
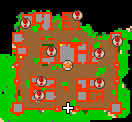
Now, you must find and break 8 casks ![]() all over the pirate HQ identified with a red marker
all over the pirate HQ identified with a red marker ![]()
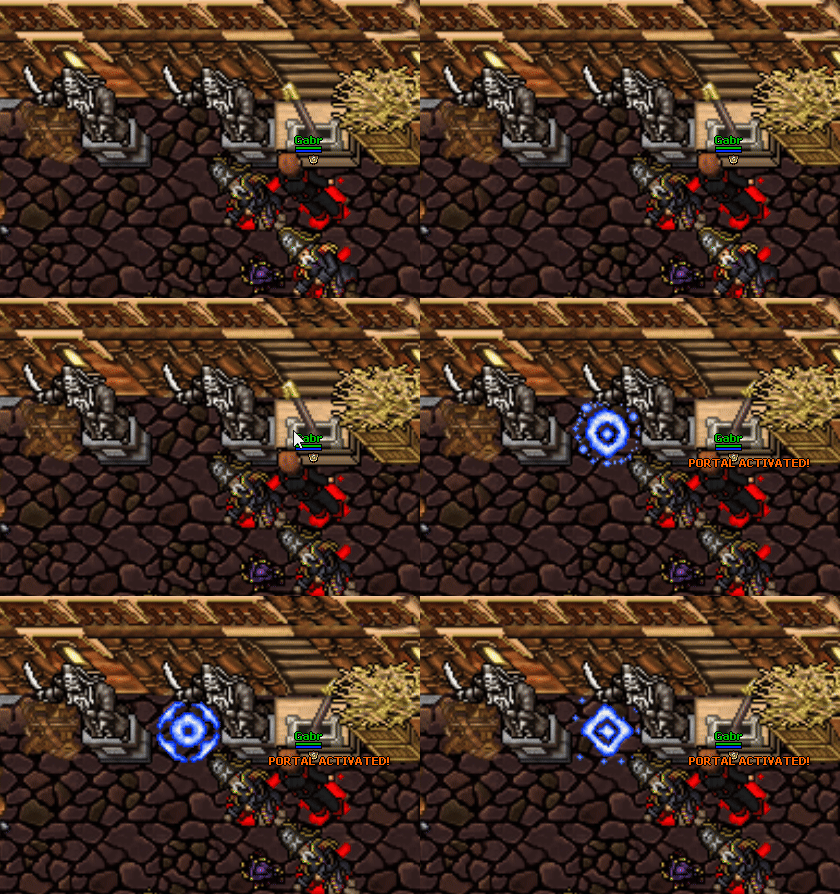
Once you slain them all, pull the lever ![]() to activate a teleport to the boss room
to activate a teleport to the boss room ![]()
Final Mission: The Boss Fight
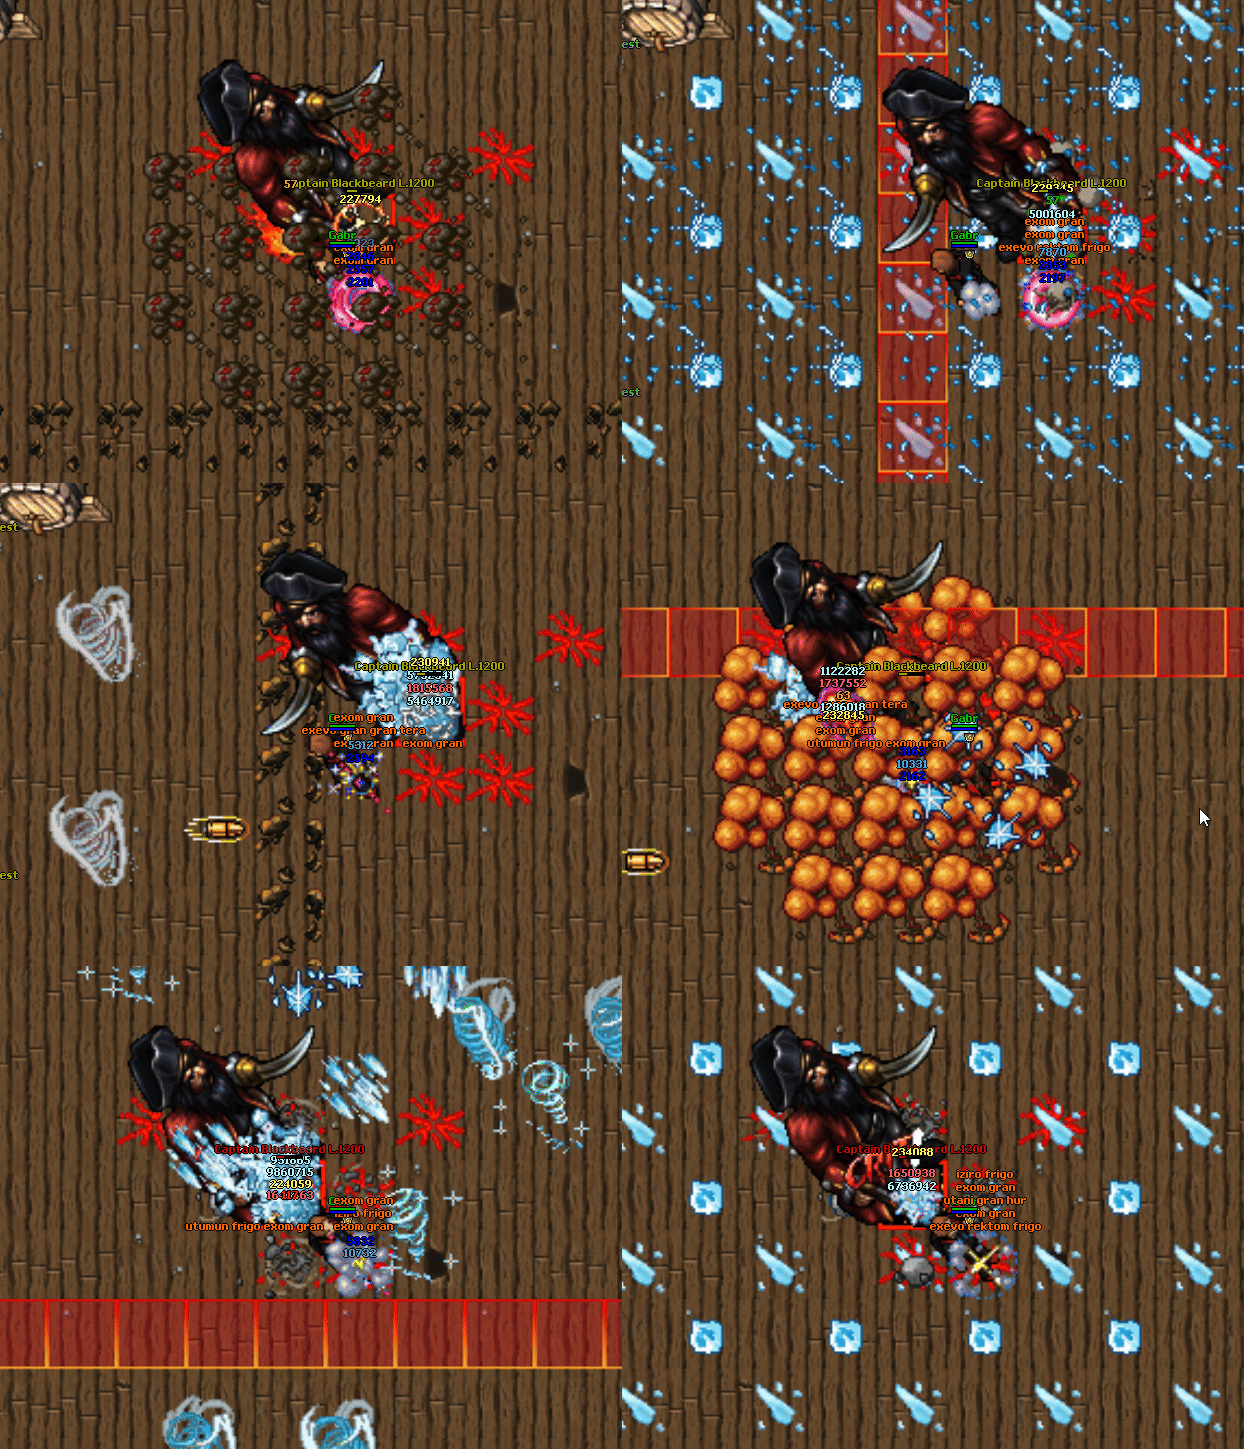
This fight has no special mechanics.
Sometimes cannons  will spawn on the 4 sides of the room dealing red beam mechanics.
Avoid mechanics from the boss and from his cannons, and you will be fine.
Once you slain the boss, a teleporter ![]() to the reward room will be created on the center of the boss room.
to the reward room will be created on the center of the boss room.
