Inquisition Quest
Requirements
- Level 700
Rewards
- Random Inquisition Set Item (Amulet, Ring, Helmet, Armor, Legs, Boots, Backpack, Shield, Sword, Bow, Staff, Scythe)
- 2x Tier 3 Quest Box
- 20x Jewels
Walkthrough
Enter on Inquisition Quest teleport
The main goal in here is to slain every boss and step on the teleporter.
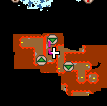
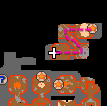
Here is the retreat room, it means if you die on any seal, you can restart the seal through this room.
1 - The Demon Forge (Ushuriel) 
Once you kill the boss, step on the teleport ![]() to access the next seal.
to access the next seal.
If you step on the teleporter when the boss is still alive, you'll be teleported back to the retreat.
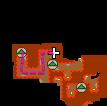
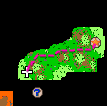
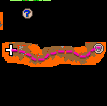
2 - The Crystal Caves (Zugurosh) 
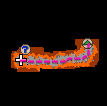
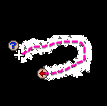
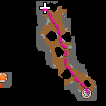
Follow the way through the caves and the mirror maze to get to the next part.
On the underwater cave, do not proceed without getting the special flask ![]() on the blue chest
on the blue chest  on the way.
Enter the teleporter ![]() at the end of underwater cave to fight against Zugurosh.
at the end of underwater cave to fight against Zugurosh.
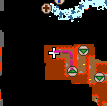
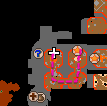
3 - The Blood Halls (Madareth) 
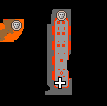
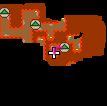
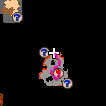
Follow the way through the blood halls to fight against Madareth.
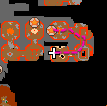
4 - The Vats (Latrivan & Golgordan) 

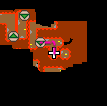
Follow the way through the vats to fight against Latrivan and Golgordan.
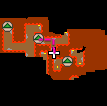
Follow the way through the arcanum to fight against Annihilon.
Follow the way through the hive to fight against Hellgorak.
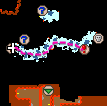
7 - The Shadow Nexus (Final Seal)
After you kill Hellgorak, follow the way through the monsters until you reach the magic wall 
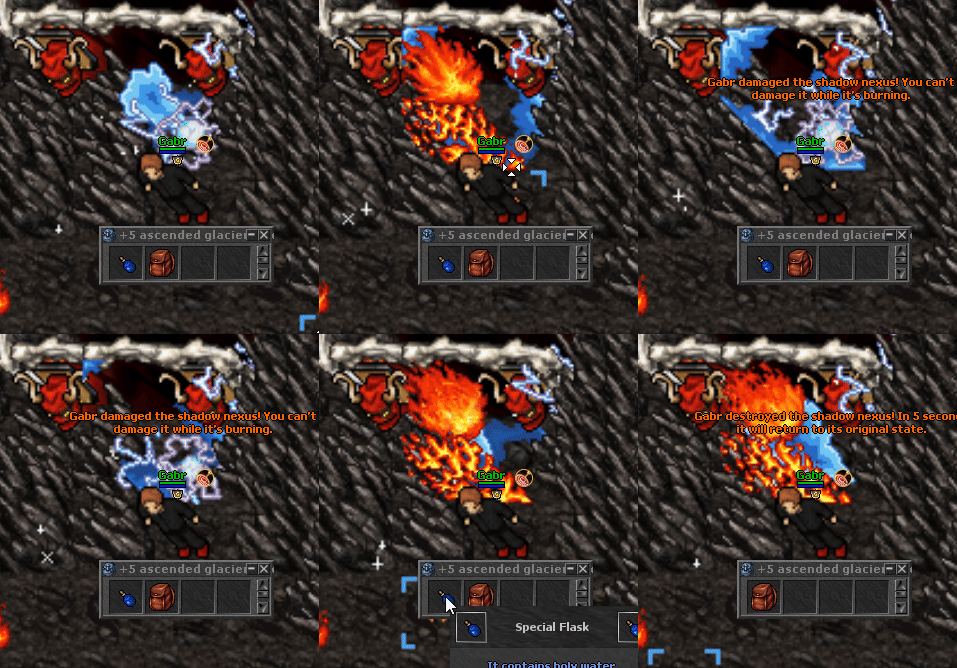
Once you're there, use your special flask ![]() several times on the magic wall until the flask gets destroyed.
several times on the magic wall until the flask gets destroyed.
Then, just go back to the entrance of the quest and head north through the teleport ![]()
Enjoy your rewards.
