Difference between revisions of "Gladiator Armor Quest"
| Line 24: | Line 24: | ||
| − | <b>First cauldron: </b>Starting from the beginning, this is the route for the first cauldron. | + | <b>First cauldron: </b><br> |
| + | Starting from the beginning, this is the route for the first cauldron. | ||
[[file:Gladiator Armor Map 2.png|200px]] [[file:Gladiator Armor Map 3.png|200px]] | [[file:Gladiator Armor Map 2.png|200px]] [[file:Gladiator Armor Map 3.png|200px]] | ||
| − | <b>Second cauldron: </b>Go back to the entrance, and follow the way to the second cauldron. | + | <b>Second cauldron: </b><br> |
| + | Go back to the entrance, and follow the way to the second cauldron. | ||
[[file:Gladiator Armor Map 4.png|200px]] [[file:Gladiator Armor Map 5.png|200px]] [[file:Gladaitor Armor Map 6.png|200px]] | [[file:Gladiator Armor Map 4.png|200px]] [[file:Gladiator Armor Map 5.png|200px]] [[file:Gladaitor Armor Map 6.png|200px]] | ||
| − | <b>Third cauldron: </b>From this point on, follow the way to the third cauldron. | + | <b>Third cauldron: </b><br> |
| + | From this point on, follow the way to the third cauldron. | ||
[[file:Gladiator Armor Map 7.png|200px]] [[file:Gladiator Armor Map 8.png|200px]] [[file:Gladiator Armor Map 9.png|200px]] | [[file:Gladiator Armor Map 7.png|200px]] [[file:Gladiator Armor Map 8.png|200px]] [[file:Gladiator Armor Map 9.png|200px]] | ||
| − | <b>Fourth cauldron: </b>From this point on, follow the way to the fourth cauldron. | + | <b>Fourth cauldron: </b><br> |
| + | From this point on, follow the way to the fourth cauldron. | ||
[[file:Gladiator Armor Map 10.png|200px]] [[file:Gladiator Armor Map 11.png|200px]] [[file:Gladiator Armor Map 12.png|200px]] | [[file:Gladiator Armor Map 10.png|200px]] [[file:Gladiator Armor Map 11.png|200px]] [[file:Gladiator Armor Map 12.png|200px]] | ||
| − | <b>Fifth cauldron: </b>From this point on, follow the way to the fifth cauldron. | + | <b>Fifth cauldron: </b><br> |
| + | From this point on, follow the way to the fifth cauldron. | ||
[[file:Gladiator Armor Map 13.png|200px]] [[file:Gladiator Armor Map 14.png|200px]] [[file:Gladiator Armor Map 15.png|200px]] | [[file:Gladiator Armor Map 13.png|200px]] [[file:Gladiator Armor Map 14.png|200px]] [[file:Gladiator Armor Map 15.png|200px]] | ||
| − | <b>Sixth cauldron: </b>Go down and follow the way to the sixth cauldron. | + | <b>Sixth cauldron: </b><br> |
| + | Go down and follow the way to the sixth cauldron. | ||
[[file:Gladiator Armor Map 16.png|200px]] [[file:Gladiator Armor Map 17.png|200px]] | [[file:Gladiator Armor Map 16.png|200px]] [[file:Gladiator Armor Map 17.png|200px]] | ||
| − | <b>Seventh cauldron: </b>From this point on, follow the way to the seventh cauldron. | + | <b>Seventh cauldron: </b><br> |
| + | From this point on, follow the way to the seventh cauldron. | ||
[[file:Gladiator Armor Map 18.png|200px]] [[file:Gladiator Armor Map 19.png|200px]] | [[file:Gladiator Armor Map 18.png|200px]] [[file:Gladiator Armor Map 19.png|200px]] | ||
| − | <b>Last cauldron: </b>From this point on, follow the way to the eight cauldron. | + | <b>Last cauldron: </b><br> |
| + | From this point on, follow the way to the eight cauldron. | ||
[[file:Gladiator Armor Map 20.png|200px]] [[file:Gladiator Armor Map 21.png|200px]] | [[file:Gladiator Armor Map 20.png|200px]] [[file:Gladiator Armor Map 21.png|200px]] | ||
Revision as of 19:39, 25 March 2025
Requirements
- Crowbar
- If you lose it, you can buy a new one on the Tool NPC.
Rewards
- Gladiator Armor
- Gladiator Shield
- Tier 1 Quest Box
Walkthrough
Enter on Gladiator Armor Quest teleport
First Mission: Breaking The Cauldrons
Once you go down the stairs, click on the dead corpse ![]() and get a crowbar
and get a crowbar ![]()
Your main goal is to break 8 cauldrons  around the map with this crowbar. There is no specific order, but this is the fastest route.
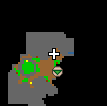
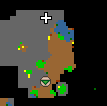
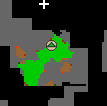
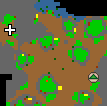
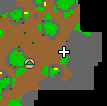
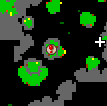
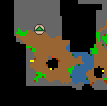
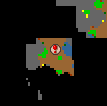
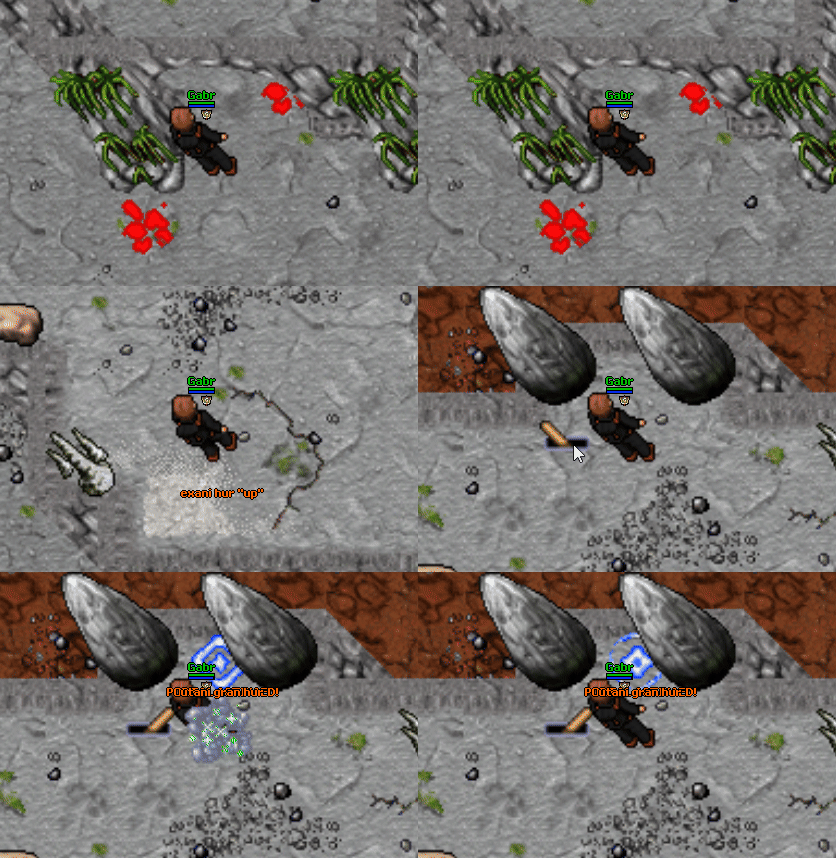
First cauldron:
Starting from the beginning, this is the route for the first cauldron.
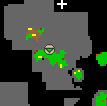
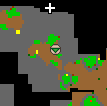
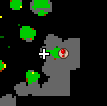
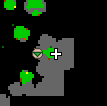
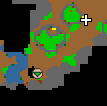
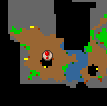
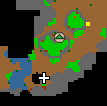
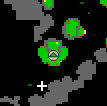
Second cauldron:
Go back to the entrance, and follow the way to the second cauldron.
Third cauldron:
From this point on, follow the way to the third cauldron.
Fourth cauldron:
From this point on, follow the way to the fourth cauldron.
Fifth cauldron:
From this point on, follow the way to the fifth cauldron.
Sixth cauldron:
Go down and follow the way to the sixth cauldron.
Seventh cauldron:
From this point on, follow the way to the seventh cauldron.
Last cauldron:
From this point on, follow the way to the eight cauldron.
Second Mission: The Lever To The Boss Room
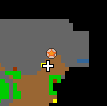
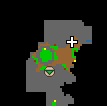
From the eight cauldron, return back to the wide open area and follow the way until you reach this point:
Here, use your levitate spell and pull the lever ![]() to activate the teleport
to activate the teleport ![]() to the boss room.
to the boss room.
Now fight Stonecracker  and once slain, a teleport
 ![]() to the reward room will be spawned.
to the reward room will be spawned.
