Difference between revisions of "Gladiator Legs Quest"
Jump to navigation
Jump to search
| Line 33: | Line 33: | ||
| − | Then, head south and use the second key on the sealed door [[file:Marker (Star).gif]], | + | Then, head south and use the second key on the sealed door [[file:Marker (Star).gif]]. |
| + | |||
| + | This quest has no final boss, so, enjoy your rewards. | ||
[[file:Gladiator Legs Quest Map 5_5.png|200px]] | [[file:Gladiator Legs Quest Map 5_5.png|200px]] | ||
[[file:Gladiator Legs Door 2.gif]] | [[file:Gladiator Legs Door 2.gif]] | ||
Revision as of 17:37, 25 March 2025
Requirements
- Nothing
Rewards
- Gladiator Legs (8 hours cooldown)
- Gladiator Amulet (8 hours cooldown)
- Tier 1 Quest Box (6 hours cooldown)
Walkthrough
Enter on Gladiator Legs Quest teleport
First Mission: The Sealed Door
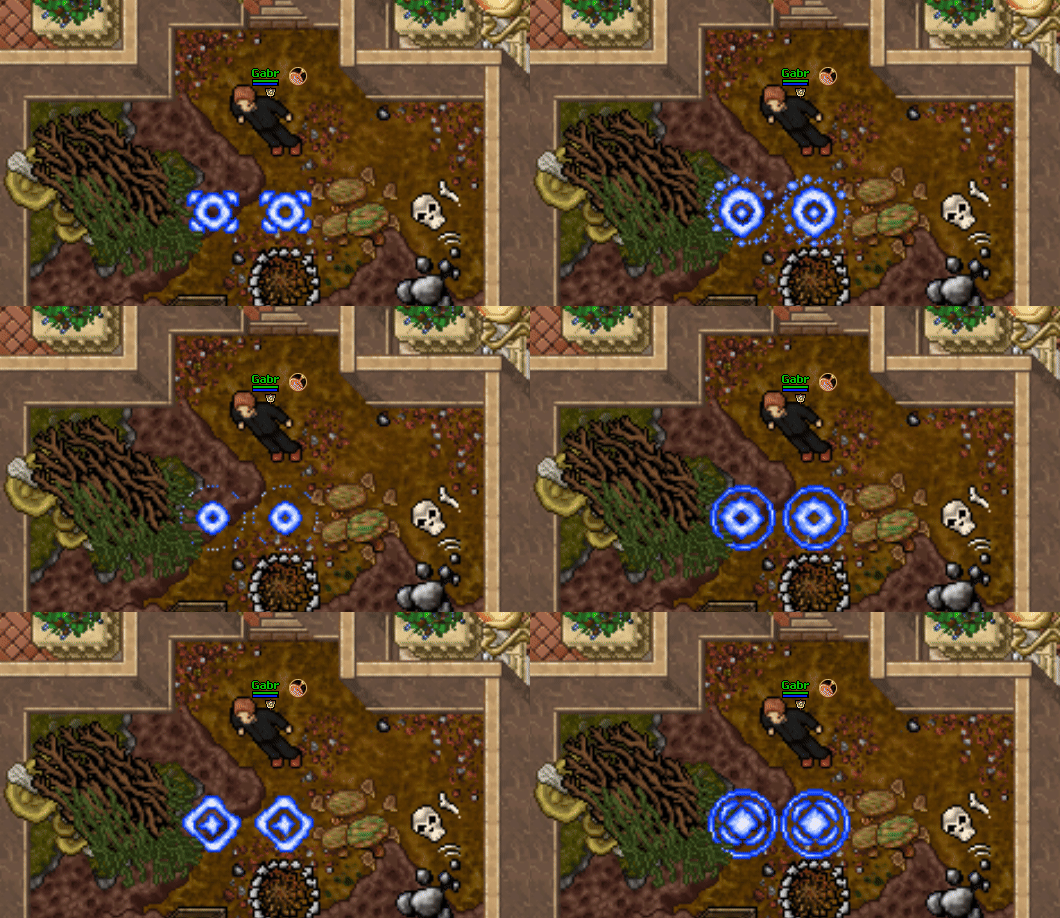
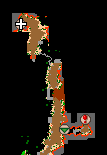
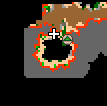
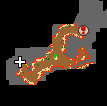
Follow the way to get the key ![]() to the sealed door.
to the sealed door.
The key has 2 hours of cooldown, so if you die after using it, you'll have to wait 2 hours before getting a new one.
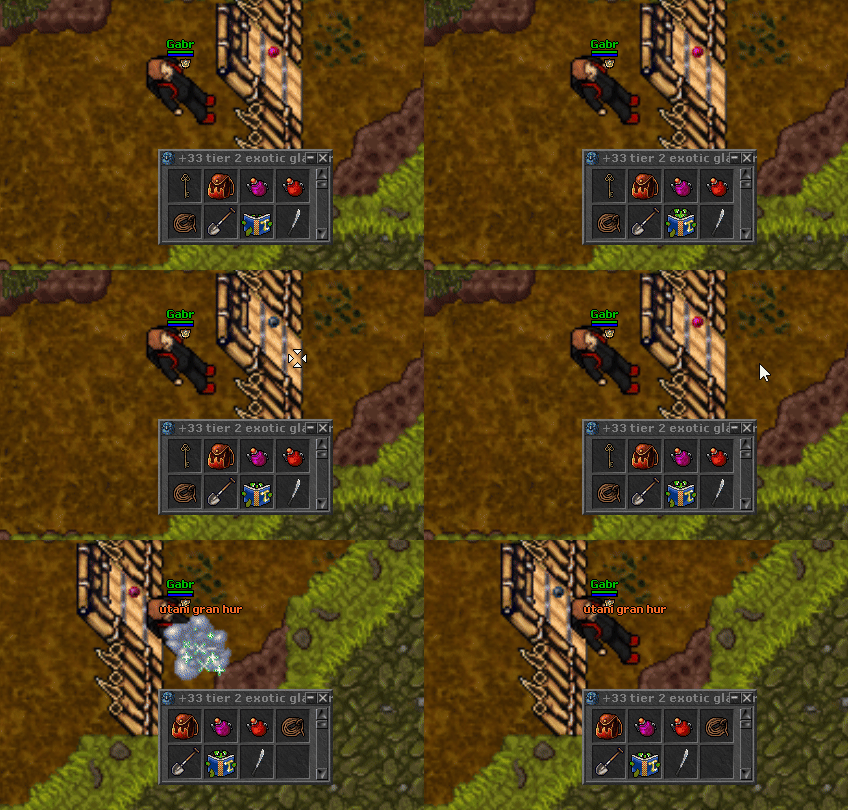
Then, head south-west until you reach the sealed door ![]() and use the key on it.
and use the key on it.
Last Mission: The Reward Room
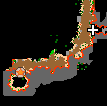
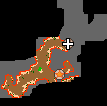
Follow the way to get the key ![]() to the reward room.
to the reward room.
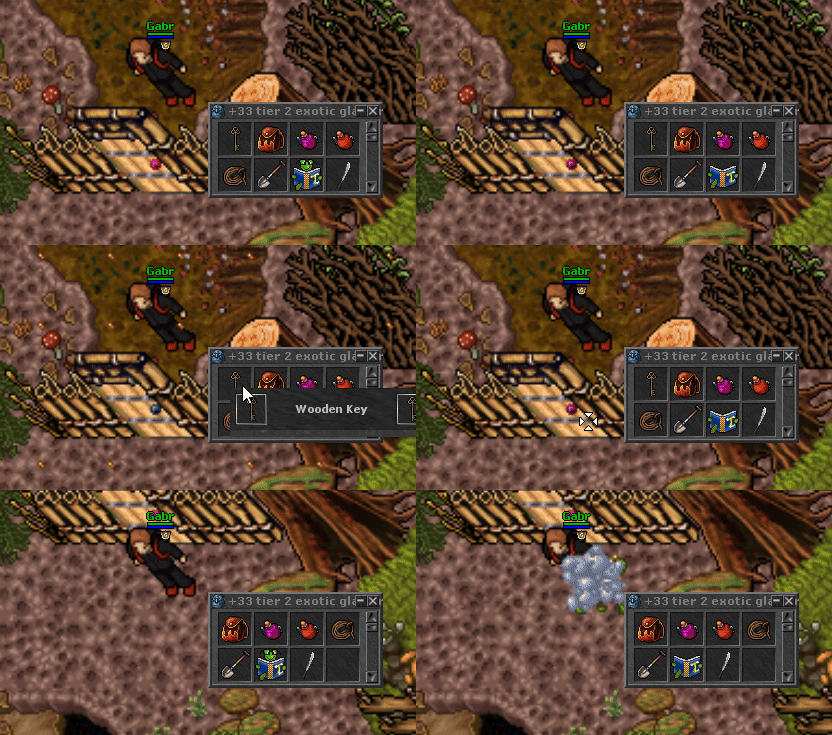
Then, head south and use the second key on the sealed door ![]() .
.
This quest has no final boss, so, enjoy your rewards.
