Difference between revisions of "Soulforged Quest"
(Created page with "== Requirements == * Access to Hoelbrak continent * Level 1050 == Rewards == * x Jewels * Random Sets#Soulforged_Set_.28Level_1050.29|Soulforged...") |
|||
| Line 63: | Line 63: | ||
The boss will <b>only</b> take damage when he is on his grey form as Mortem Tomb Guardian. | The boss will <b>only</b> take damage when he is on his grey form as Mortem Tomb Guardian. | ||
| − | Once he stops getting | + | Once he stops getting damage on his red form as <b>Static Tomb Guardian</b>, you must rotate the amazon statues in the center of the room to face eachother. [[file:Amazon Statue.gif]] |
[[file:SF Boss.gif]] | [[file:SF Boss.gif]] | ||
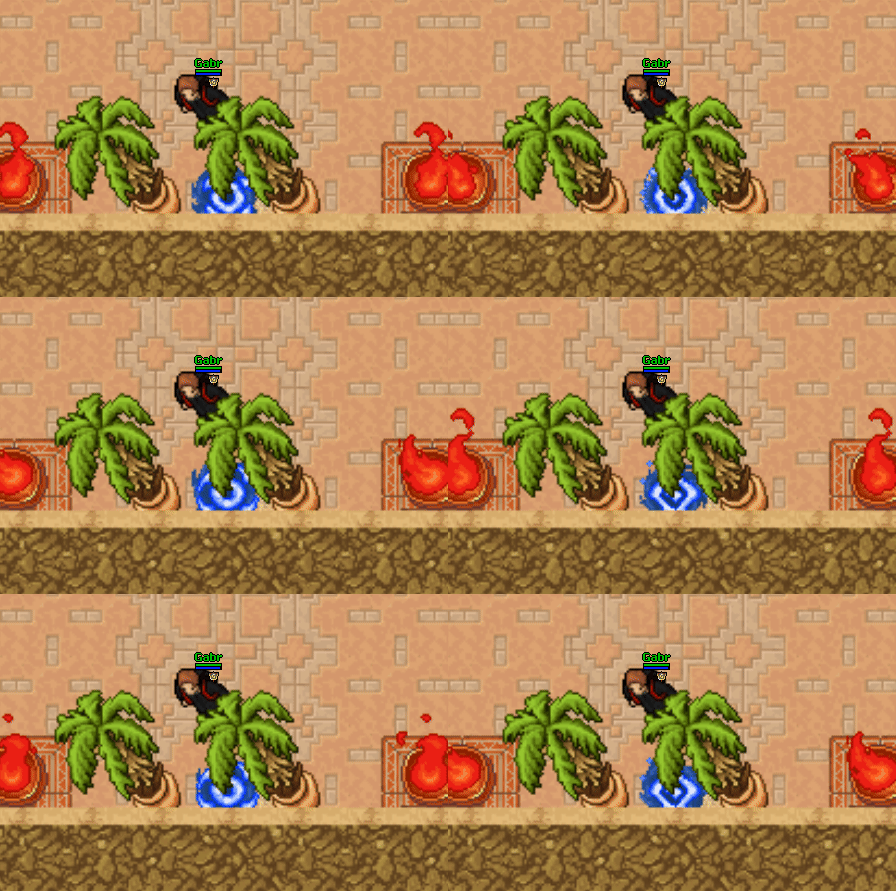
| − | Two divine energies | + | Two divine energies [[file:Divine Energy.gif]] can spawn around the room any time.<br> |
| + | They doesn't take any damage at all and deals a heavy damage. Since they're very slow, just avoid being targeted by them. | ||
| + | |||
| + | Once you slain the boss, a teleporter [[File:Magic Forcefield (Azul).gif]] to the reward room will be created on the north side of the boss room. | ||
<hr> | <hr> | ||
[[file:Treasure Chest (Big).gif]] | [[file:Treasure Chest (Big).gif]] | ||
Revision as of 22:06, 23 March 2025
Requirements
- Access to Hoelbrak continent
- Level 1050
Rewards
- x Jewels
- Random Soulforged Set piece
- Access to Winterhold Continent
Walkthrough
Enter on Soulforged Quest teleport
Follow the way to the first mission.
First Mission: The Sarcophagus
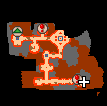
On the first part of this quest, you must gather 4 golden fir cones ![]() on 4 Sarcophagus
on 4 Sarcophagus ![]() around the map.
around the map.
To get the golden fir cone, click on the sarcophagus.
You have the chance to get the item or spawn a creature around the sarcophagus.
Once you get it, a you have found a golden totem! message will pop, and you must wait 30 minutes before getting a new item from the same location.
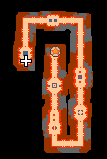
Follow the way to find the 4 sarcophagus located on the red markers ![]() and get to the next mission.
and get to the next mission.
Second Mission: The Basins
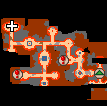
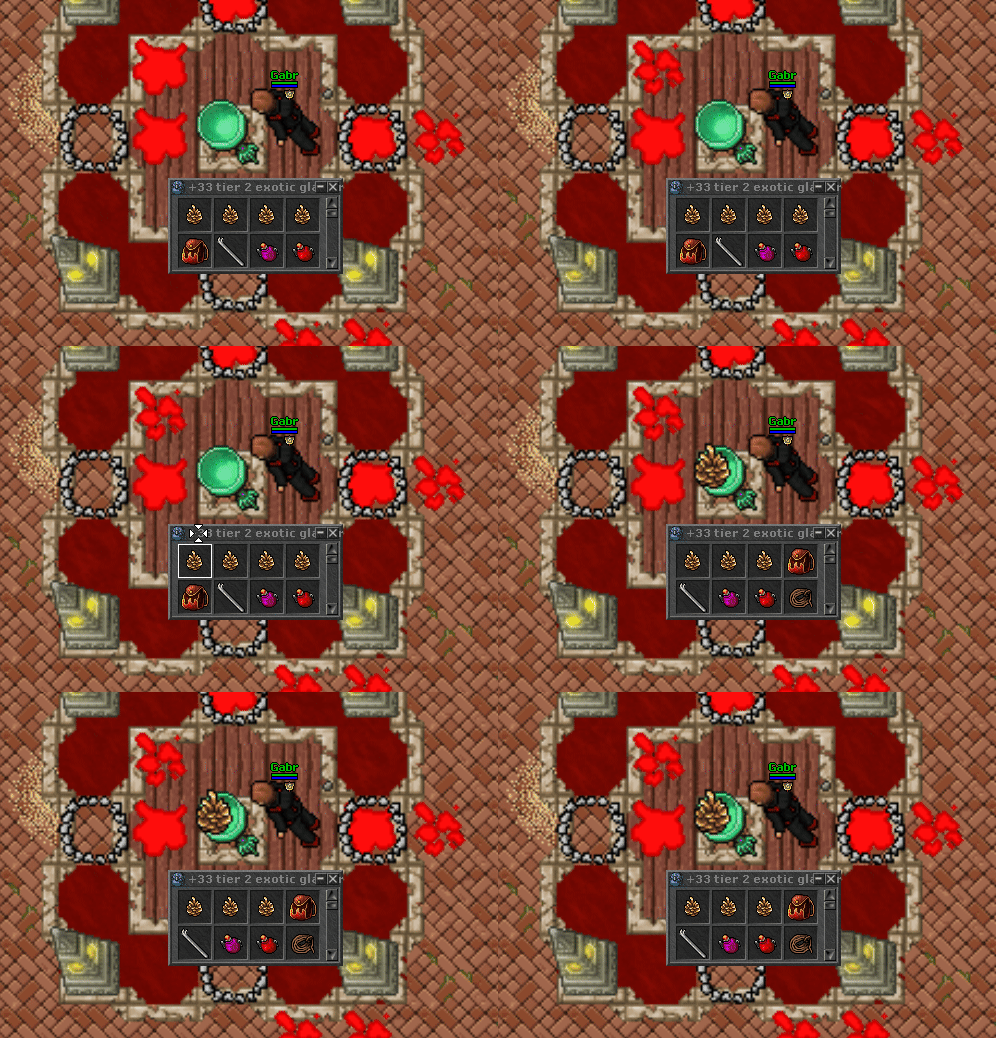
Now, you must place all 4 golden fir cones ![]() you got on 4 basins
you got on 4 basins ![]() located on the red markers
located on the red markers ![]()
Once you place them all, pull the lever ![]() located on the center of the room
located on the center of the room ![]() and enter on the teleport
and enter on the teleport ![]()
Third Mission: The Lever
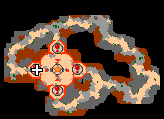
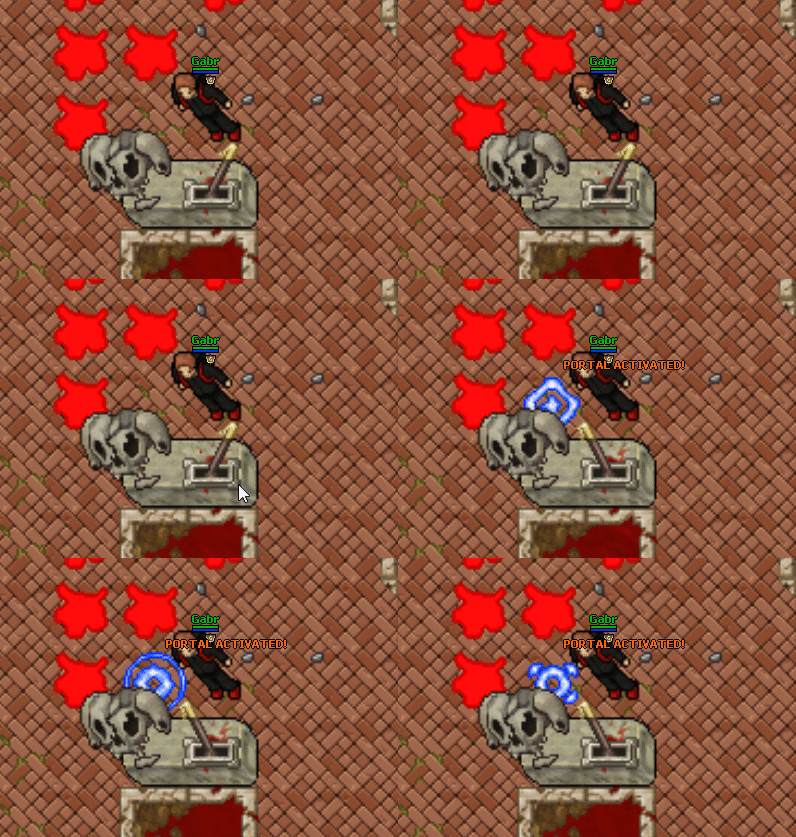
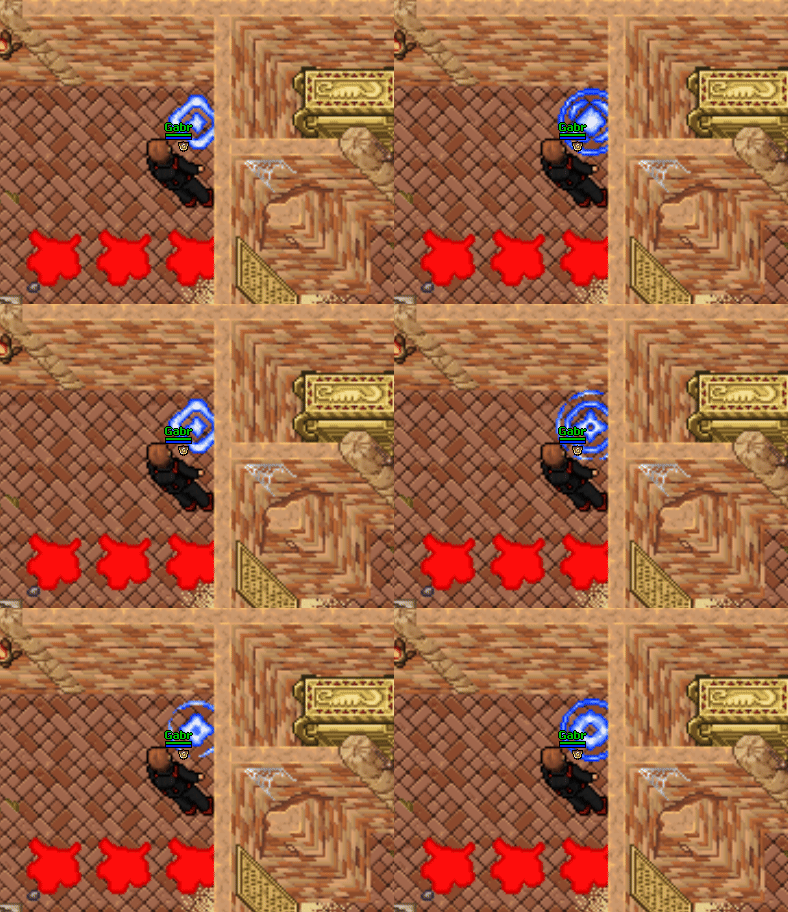
Now, you must activate the teleport to the boss room by pulling a lever.
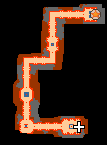
The lever ![]() is located at the red marker
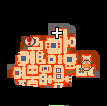
is located at the red marker ![]() and the teleport will be located at the star marker
and the teleport will be located at the star marker ![]()
Final Mission: The Boss Fight
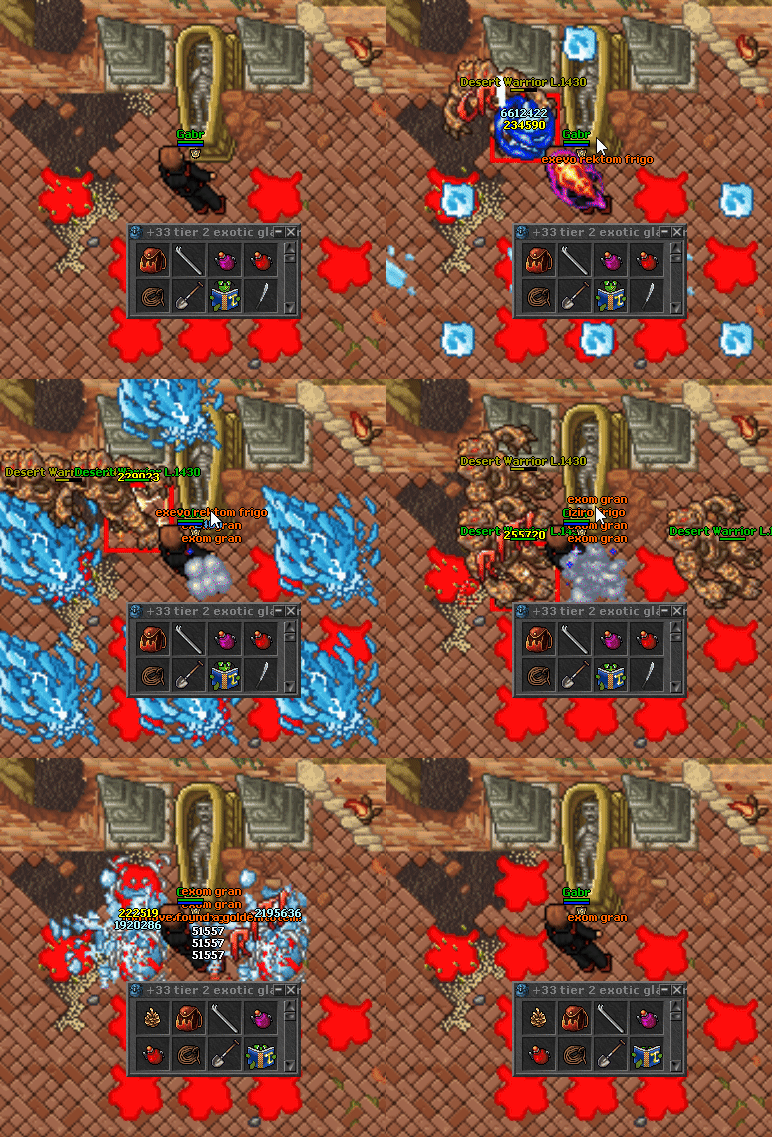
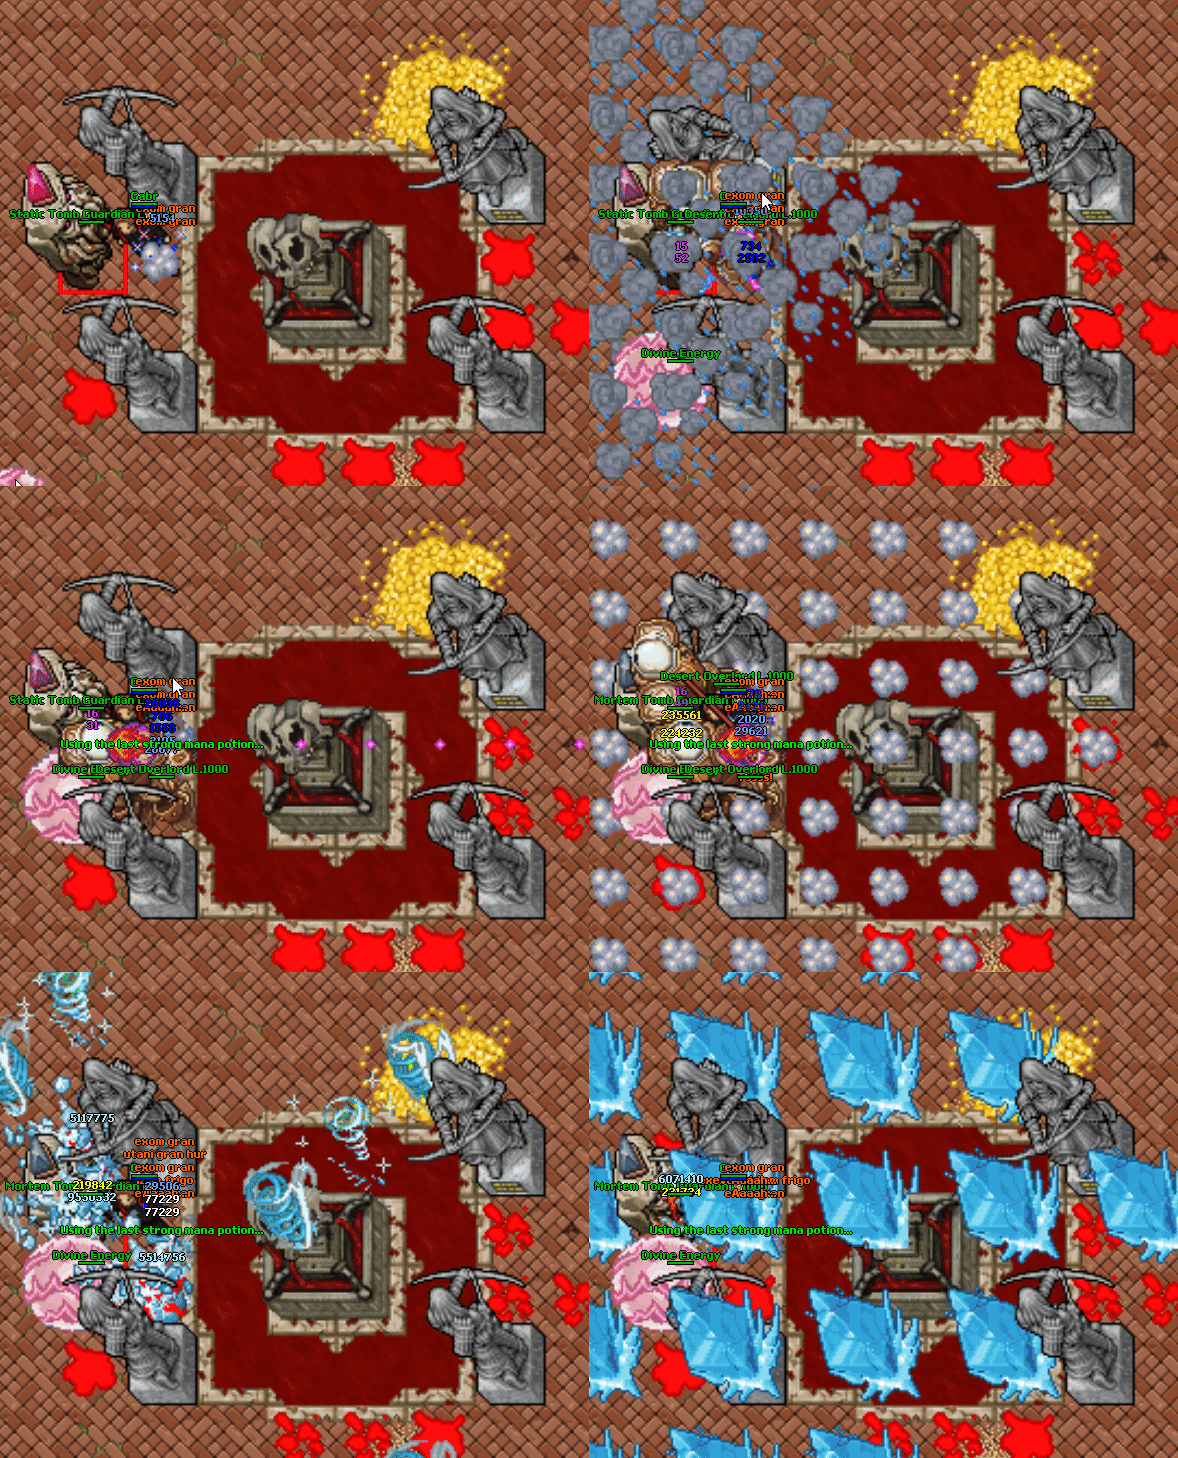
This boss has a tricky mechanic that must be made to deal damage to the boss.
You will be facing the boss in two different forms:
Mortem Tomb Guardian (Grey) and Static Tomb Guardian (Red)


The boss will only take damage when he is on his grey form as Mortem Tomb Guardian.
Once he stops getting damage on his red form as Static Tomb Guardian, you must rotate the amazon statues in the center of the room to face eachother. 
Two divine energies  can spawn around the room any time.
They doesn't take any damage at all and deals a heavy damage. Since they're very slow, just avoid being targeted by them.
Once you slain the boss, a teleporter ![]() to the reward room will be created on the north side of the boss room.
to the reward room will be created on the north side of the boss room.
