Difference between revisions of "Gladiator Weapons Quest"
Jump to navigation
Jump to search
(Created page with "== Requirements == * Nothing == Rewards == * Gladiator Weapon * Tier 2 Quest Box == Walkthrough == Enter on Gladiator Weapons Quest teleport file:Gladiator Weapons Quest....") |
|||
| (One intermediate revision by the same user not shown) | |||
| Line 3: | Line 3: | ||
== Rewards == | == Rewards == | ||
| − | * Gladiator Weapon | + | * [[Sets|Gladiator Weapon]] of your choice (sword, scythe, staff, bow) |
| + | * [[Cosmetics|5 Adventurer's Essence]] | ||
* Tier 2 Quest Box | * Tier 2 Quest Box | ||
| Line 13: | Line 14: | ||
Go down the hole [[file:Hole (Rock).gif]] to go underwater. In here, you must pull 5 levers [[File:Lever.gif]] in order to the boss room. | Go down the hole [[file:Hole (Rock).gif]] to go underwater. In here, you must pull 5 levers [[File:Lever.gif]] in order to the boss room. | ||
<hr> | <hr> | ||
| − | Follow the way to find the first lever. | + | Follow the way to find the first lever.<br> |
| − | [[file:Gladiator Weapon Map 1.png|200px]] [[file:Gladiator Weapon Map 2.png| | + | [[file:Gladiator Weapon Map 1.png|200px]] [[file:Gladiator Weapon Map 2.png|192px]] [[file:Gladiator Weapon Map 3.png|200px]] [[file:Gladiator Weapon Map 4.png|200px]] |
<hr> | <hr> | ||
| + | Follow the way to find the second lever.<br> | ||
| + | |||
| + | [[file:Gladiator Weapon Map 5.png|200px]] [[file:Gladiator Weapon Map 6.png|204px]] [[file:Gladiator Weapon Map 7.png|200px]] | ||
| + | <hr> | ||
| + | Follow the way to find the third lever.<br> | ||
| + | |||
| + | [[file:Gladiator Weapon Map 8.png|200px]] [[file:Gladiator Weapon Map 9.png|200px]] | ||
| + | <hr> | ||
| + | Go back three floors up, and follow the way to find the fourth lever.<br> | ||
| + | |||
| + | [[file:Gladiator Weapon Map 10.png|200px]] [[file:Gladiator Weapon Map 11.png|200px]] [[file:Gladiator Weapon Map 12.png|200px]] | ||
| + | <hr> | ||
| + | Follow the way to find the fifth and last lever.<br> | ||
| + | |||
| + | [[file:Gladiator Weapon Map 13.png|200px]] [[file:Gladiator Weapon Map 14.png|200px]]<br> | ||
| + | |||
| + | Pull it to remove the gate [[file:Deepling Gate2.gif]] blocking the path, and enter on the teleport [[file:Magic Forcefield (Azul).gif]] | ||
| + | |||
| + | [[file:Gladiator Weapons Quest 2.gif]]<br><br> | ||
| + | <hr> | ||
| + | Follow the way to find the teleporter [[file:Magic Forcefield (Azul).gif]] that leads to the boss room. | ||
| + | |||
| + | [[file:Gladiator Weapon Map 15.png|200px]] | ||
| + | <hr> | ||
| + | Kill Jaws [[file:Quara Predator.gif]] and enjoy your rewards. | ||
| + | <hr> | ||
| + | [[File:Treasure Chest (Blue).gif]] [[File:Treasure_Chest (Blue).gif]] | ||
Latest revision as of 22:40, 28 March 2025
Requirements
- Nothing
Rewards
- Gladiator Weapon of your choice (sword, scythe, staff, bow)
- 5 Adventurer's Essence
- Tier 2 Quest Box
Walkthrough
Enter on Gladiator Weapons Quest teleport
Go down the hole ![]() to go underwater. In here, you must pull 5 levers
to go underwater. In here, you must pull 5 levers ![]() in order to the boss room.
in order to the boss room.
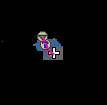
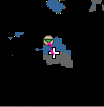
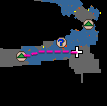
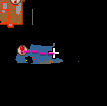
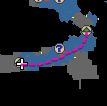
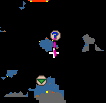
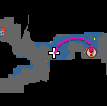
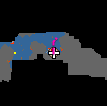
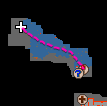
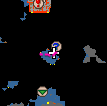
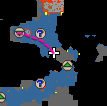
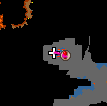
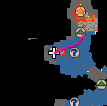
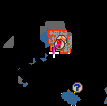
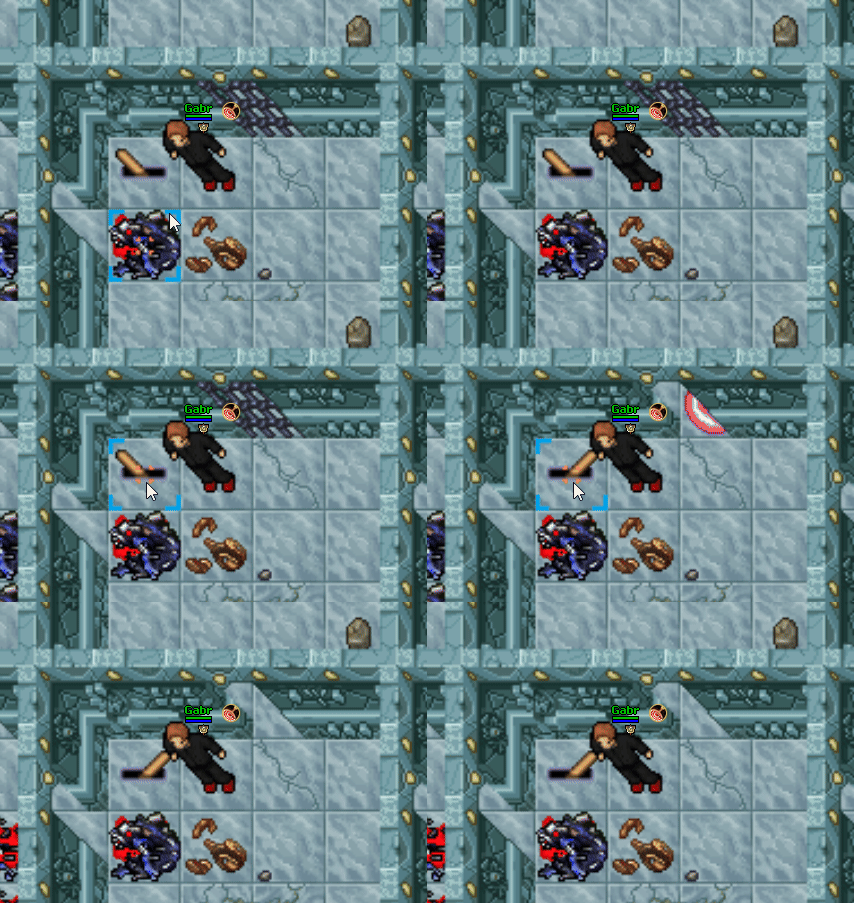
Follow the way to find the first lever.
Follow the way to find the second lever.
Follow the way to find the third lever.
Go back three floors up, and follow the way to find the fourth lever.
Follow the way to find the fifth and last lever.
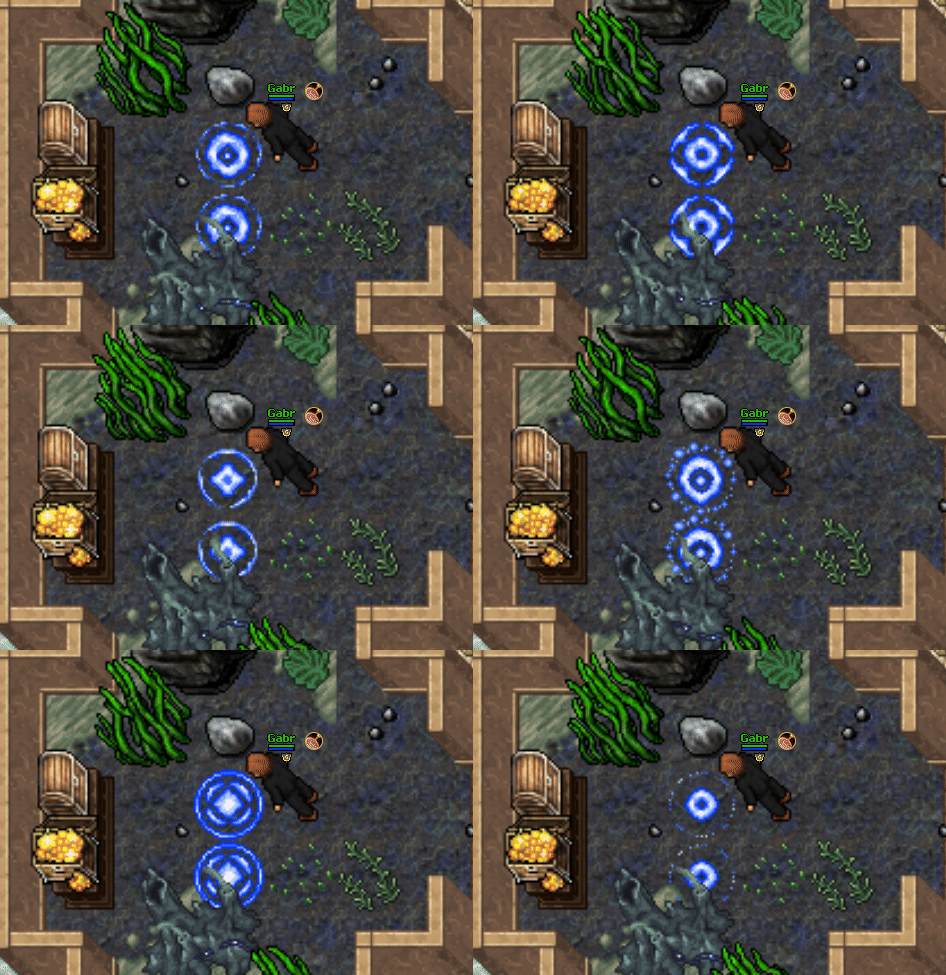
Pull it to remove the gate ![]() blocking the path, and enter on the teleport
blocking the path, and enter on the teleport ![]()
Follow the way to find the teleporter ![]() that leads to the boss room.
that leads to the boss room.
Kill Jaws  and enjoy your rewards.
