Difference between revisions of "Gladiator Legs Quest"
Jump to navigation
Jump to search
| (One intermediate revision by the same user not shown) | |||
| Line 3: | Line 3: | ||
== Rewards == | == Rewards == | ||
| − | * Gladiator Legs | + | * [[Sets|Gladiator Legs]] |
| − | * Gladiator Amulet | + | * [[Sets|Gladiator Amulet]] |
| + | * [[Cosmetics|5 Adventurer's Essence]] | ||
* Tier 1 Quest Box | * Tier 1 Quest Box | ||
| Line 27: | Line 28: | ||
| − | == | + | == Final Mission: The Reward Room == |
Follow the way to get the key [[file:Wooden Key.gif]] to the reward room. | Follow the way to get the key [[file:Wooden Key.gif]] to the reward room. | ||
Latest revision as of 22:39, 28 March 2025
Requirements
- Nothing
Rewards
- Gladiator Legs
- Gladiator Amulet
- 5 Adventurer's Essence
- Tier 1 Quest Box
Walkthrough
Enter on Gladiator Legs Quest teleport
First Mission: The Sealed Door
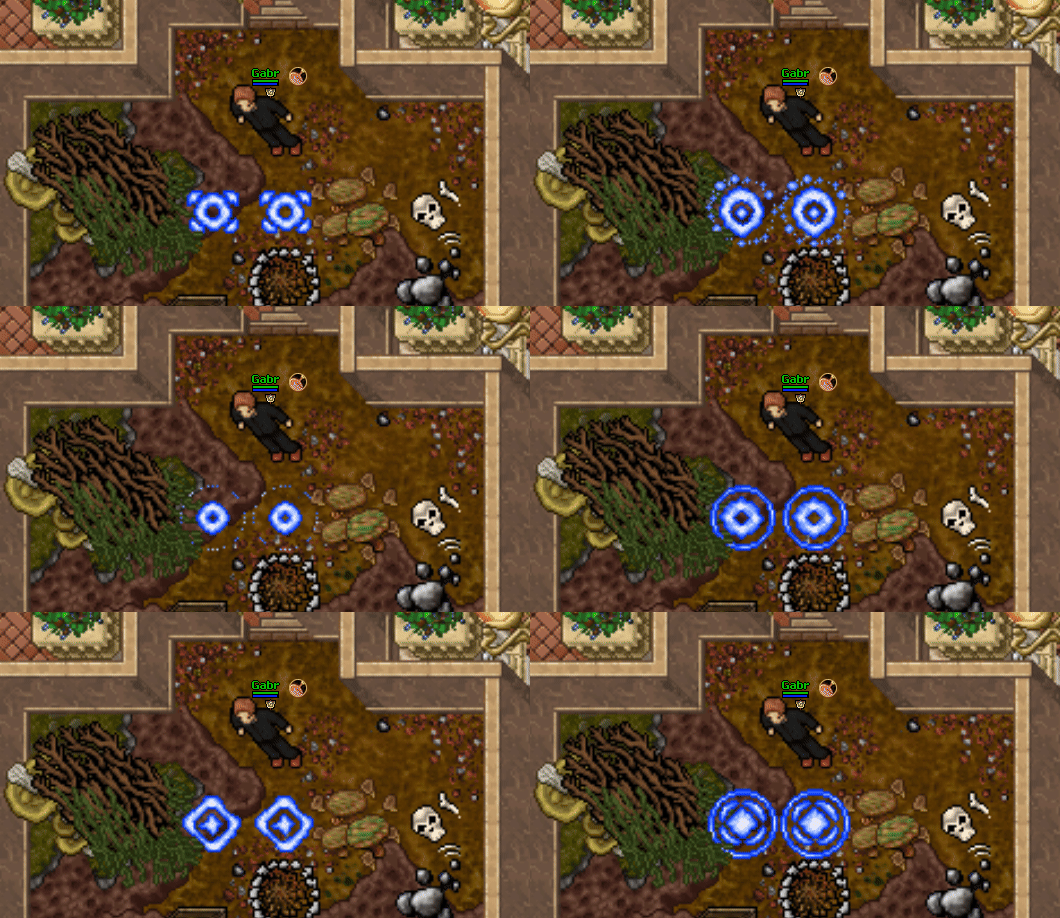
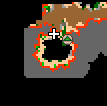
Follow the way to get the key ![]() to the sealed door.
to the sealed door.
The key has 2 hours of cooldown, so if you die after using it, you'll have to wait 2 hours before getting a new one.
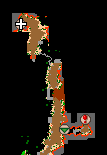
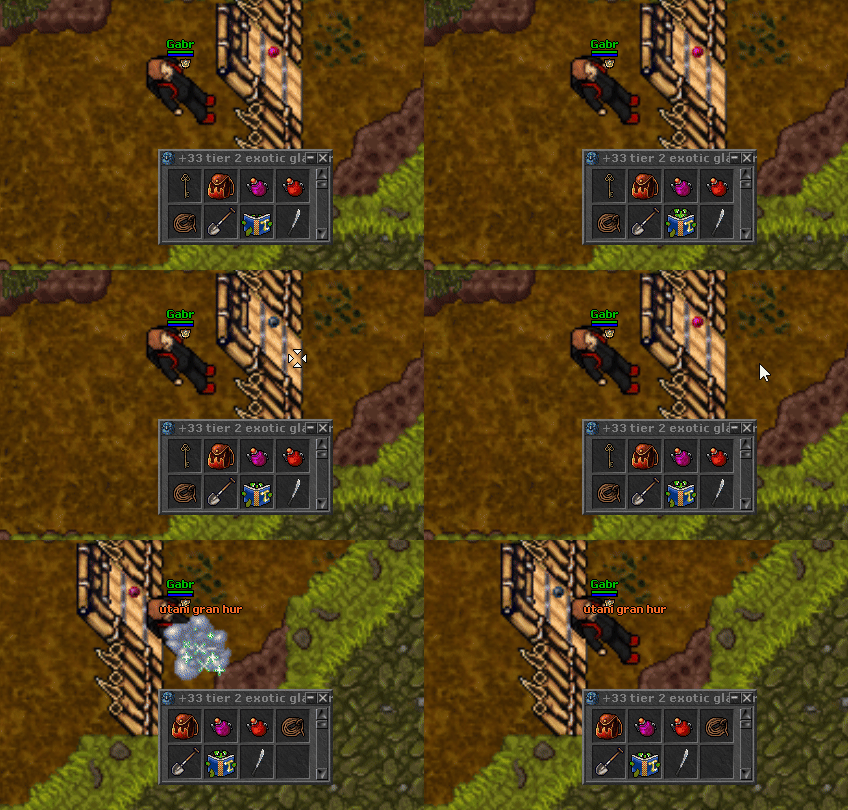
Then, head south-west until you reach the sealed door ![]() and use the key on it.
and use the key on it.
Final Mission: The Reward Room
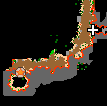
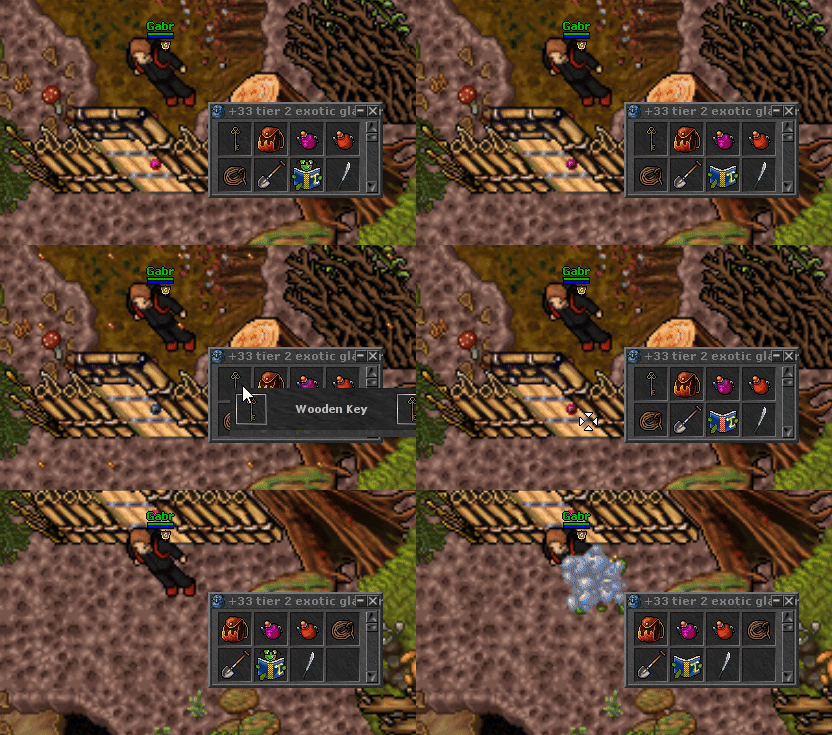
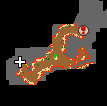
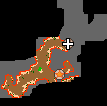
Follow the way to get the key ![]() to the reward room.
to the reward room.
Then, head south and use the second key on the sealed door ![]()
This quest has no final boss, so enjoy your rewards.
