Difference between revisions of "Gladiator Helmet Quest"
Jump to navigation
Jump to search
(Created page with "== Requirements == * Nothing == Rewards == * Gladiator Helmet == Walkthrough == Enter on Gladiator Helmet Quest teleport file:Gladiator Helmet Quest 1.gif Follow the...") |
|||
| (7 intermediate revisions by the same user not shown) | |||
| Line 3: | Line 3: | ||
== Rewards == | == Rewards == | ||
| − | * Gladiator Helmet | + | * [[Sets|Gladiator Helmet]] |
| + | * [[Sets|Gladiator Backpack]] | ||
| + | * [[Cosmetics|5 Adventurer's Essence]] | ||
| + | * Tier 1 Quest Box | ||
| + | * Pirate Addons | ||
== Walkthrough == | == Walkthrough == | ||
| Line 10: | Line 14: | ||
[[file:Gladiator Helmet Quest 1.gif]] | [[file:Gladiator Helmet Quest 1.gif]] | ||
| + | == First Mission: Pulling The First Lever == | ||
| + | Follow the way and pull the first lever [[file:Lever.gif]] to remove a path blocking statue on the boat [[file:Pirate_Statue.gif]] | ||
| − | + | [[file:Gladiator Helmet Quest Map 1_1.png|200px]] | |
| − | [[file:Gladiator Helmet | + | [[file:Gladiator Helmet Lever 1.gif]] |
| − | |||
| + | Go down one floor and follow the way to the boat, follow east and enter on the teleport [[file:Magic Forcefield (Azul).gif]] | ||
| − | + | [[file:Gladiator Helmet Quest Map 2_2.png|200px]] | |
| − | [[file:Gladiator Helmet | + | [[file:Gladiator Helmet Teleport 1.gif]] |
| − | + | == Second Mission: Pulling The Second Lever == | |
| + | This part must be tricky, but once you enter the teleport, use your levitate spell to go up. | ||
| + | [[file:Gladiator Helmet Hur Up.gif]] | ||
| − | |||
| − | + | Cross the boat going north-east, then use your levitate spell to go down. | |
| − | [[file:Gladiator Helmet Quest | + | [[File:Gladiator Helmet Quest Map 3_3.png|200px]] |
| + | |||
| + | [[file:Gladiator Helmet Hur Down.gif]] | ||
| + | |||
| + | |||
| + | Enter on the teleport [[file:Magic Forcefield (Azul).gif]] then follow the way to find the second lever. | ||
| + | |||
| + | [[File:Gladiator Helmet Quest Map 4_4.png|200px]] [[File:Gladiator Helmet Quest Map 5_5.png|200px]] [[File:Gladiator Helmet Quest Map 6_6.png|200px]] [[File:Gladiator Helmet Quest Map 7_7.png|200px]] | ||
| + | |||
| + | [[file:Gladiator Helmet Lever 2.gif]] | ||
| + | |||
| + | |||
| + | == Final Mission: The Boss Fight == | ||
| + | Once you pull the lever, the pirate statue [[file:Pirate Statue.gif]] blocking the path to the boat will be removed. | ||
| + | |||
| + | The boss is located at the skull marker [[file:Marker (Skull).gif]] and once he dies, enter on the teleport on the star marker [[file:Marker (Star).gif]] | ||
| + | |||
| + | [[file:Gladiator Helmet Quest Map 8_8.png|200px]] | ||
| + | |||
| + | |||
| + | Take the rewards on the reward room. | ||
Latest revision as of 22:39, 28 March 2025
Requirements
- Nothing
Rewards
- Gladiator Helmet
- Gladiator Backpack
- 5 Adventurer's Essence
- Tier 1 Quest Box
- Pirate Addons
Walkthrough
Enter on Gladiator Helmet Quest teleport
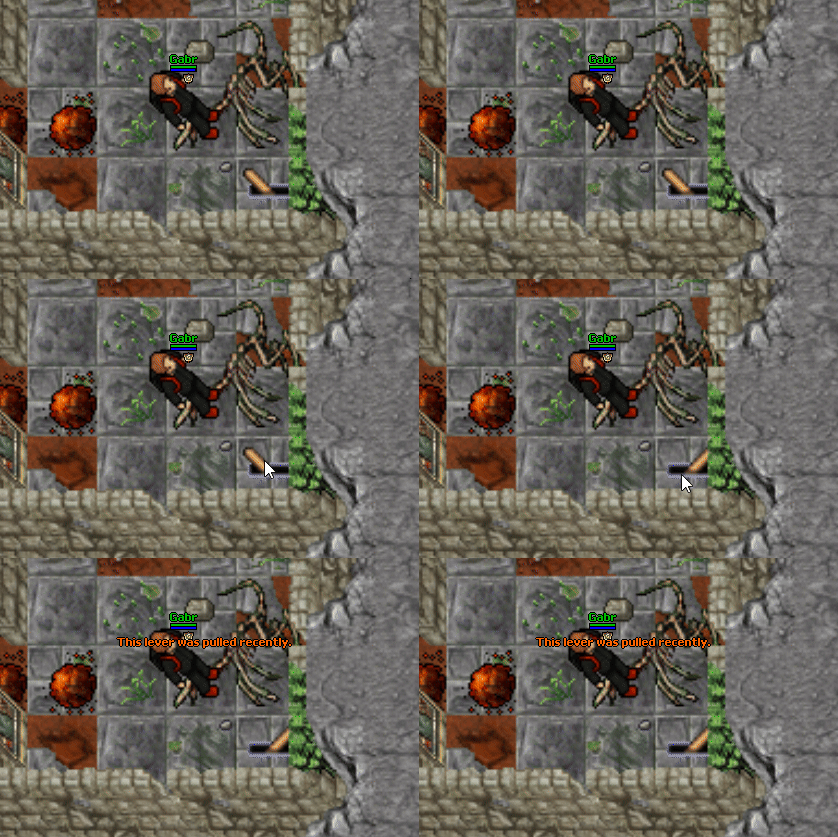
First Mission: Pulling The First Lever
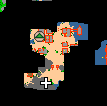
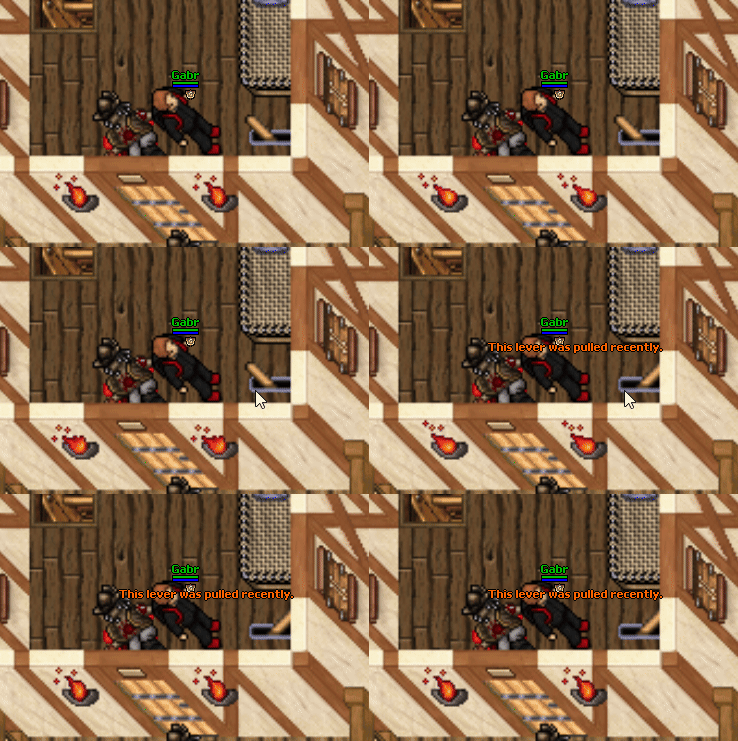
Follow the way and pull the first lever ![]() to remove a path blocking statue on the boat
to remove a path blocking statue on the boat ![]()
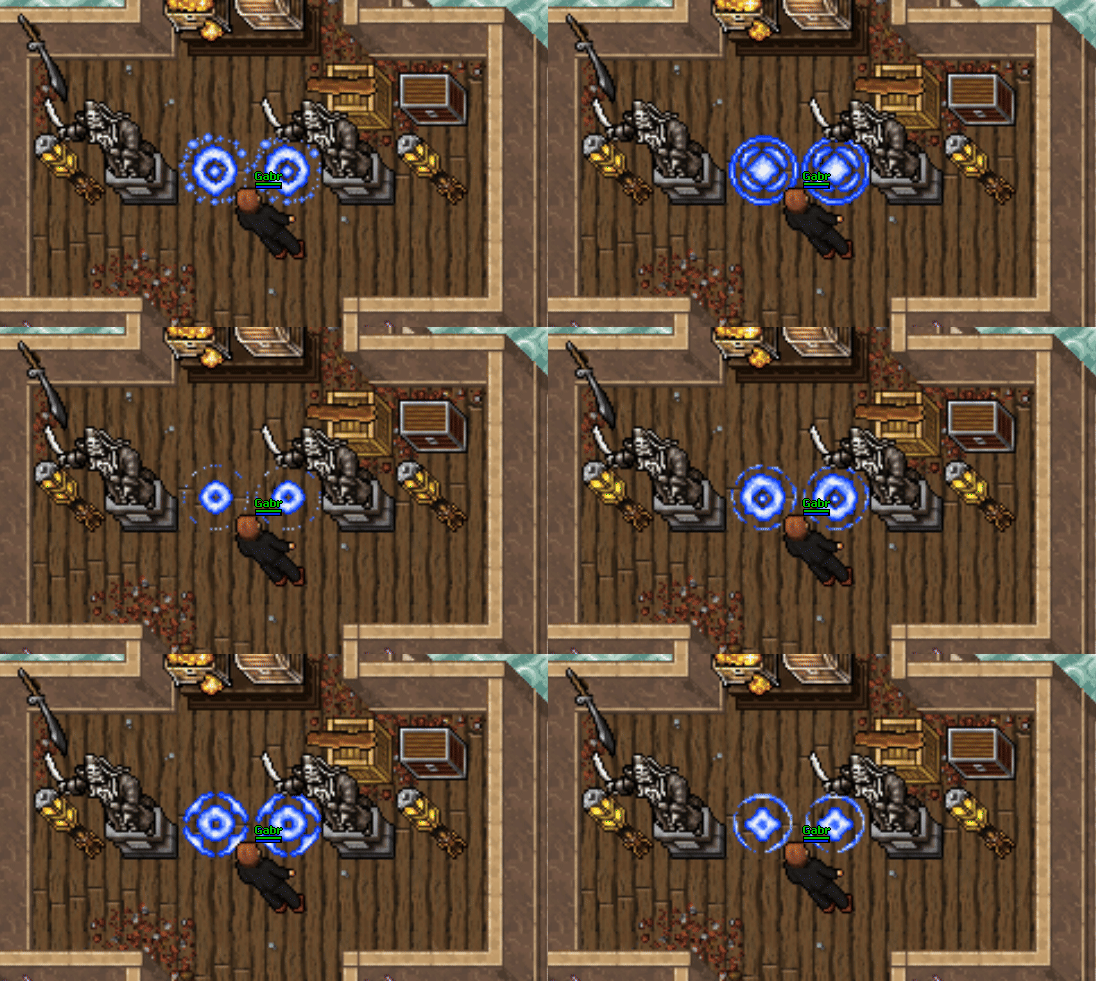
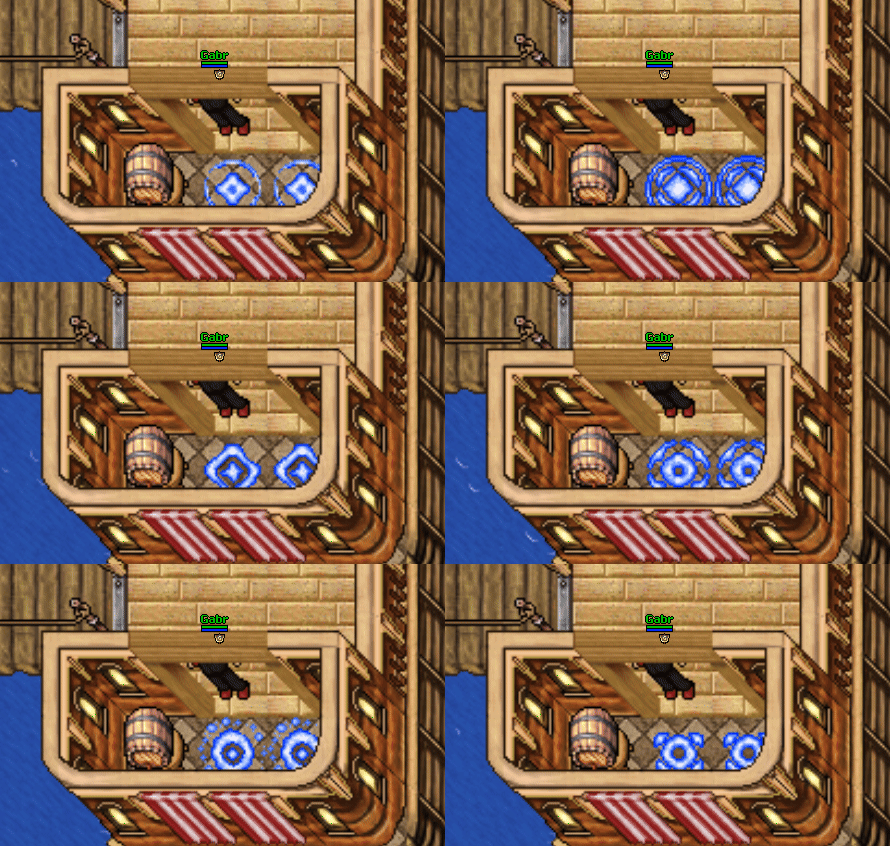
Go down one floor and follow the way to the boat, follow east and enter on the teleport ![]()
Second Mission: Pulling The Second Lever
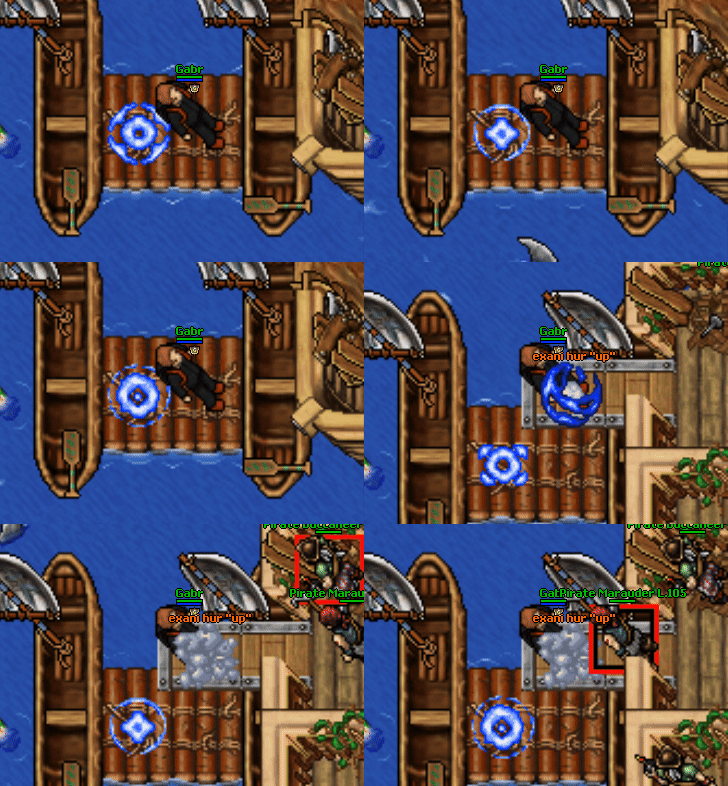
This part must be tricky, but once you enter the teleport, use your levitate spell to go up.
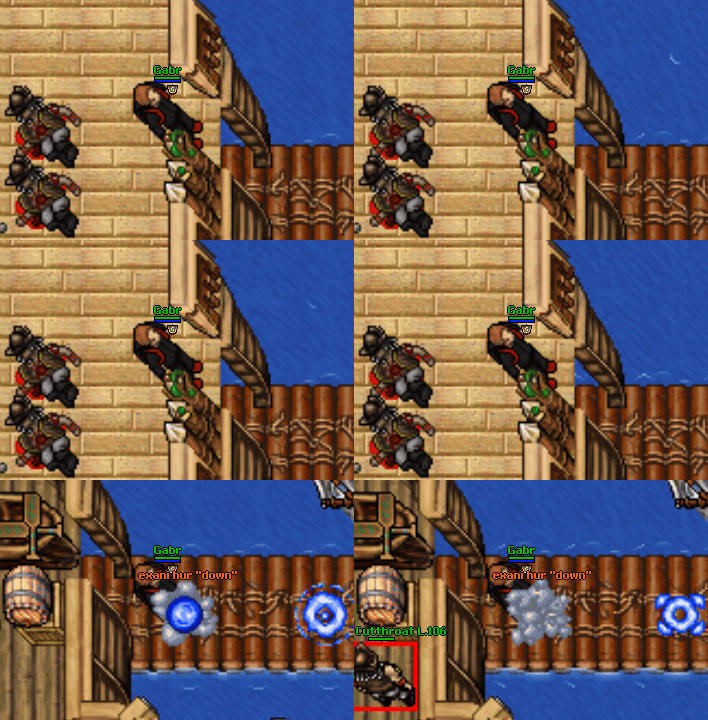
Cross the boat going north-east, then use your levitate spell to go down.
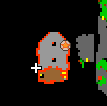
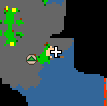
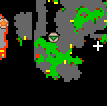
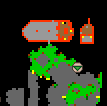
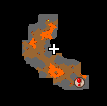
Enter on the teleport ![]() then follow the way to find the second lever.
then follow the way to find the second lever.
Final Mission: The Boss Fight
Once you pull the lever, the pirate statue ![]() blocking the path to the boat will be removed.
blocking the path to the boat will be removed.
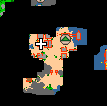
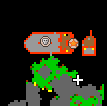
The boss is located at the skull marker ![]() and once he dies, enter on the teleport on the star marker
and once he dies, enter on the teleport on the star marker ![]()
Take the rewards on the reward room.
